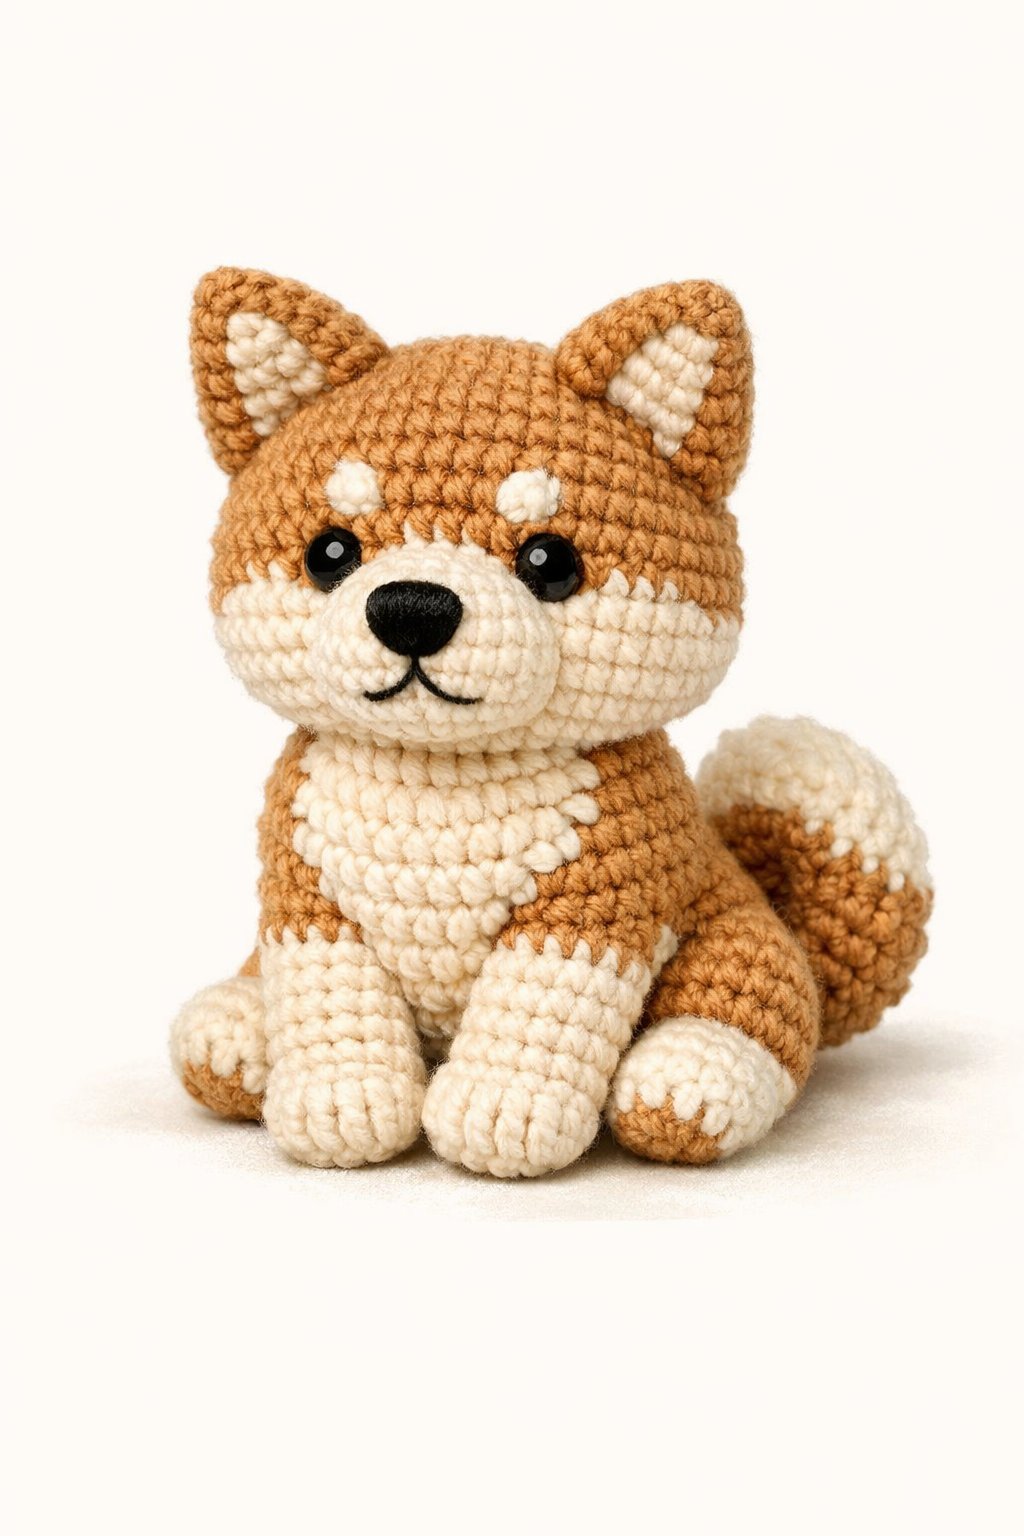
The AmiDogs Akita amigurumi dog crochet pattern focuses on creating a small, clean, and recognizable Akita using clear methods and simple tools. It fits crocheters who enjoy animal projects and want a finished piece with balanced shape and detail. The article stays practical and centers on how the pattern comes together.
It explains what the AmiDogs Akita pattern includes, what materials it uses, and what the finished project looks like before any stitches begin. The content also points toward helpful tips and design choices so the pattern feels easier to follow and plan from start to finish.
1) AmiDogs Akita crochet pattern by June Gilbank
June Gilbank designed the AmiDogs Akita crochet pattern as part of her AmiDogs series. The pattern focuses on an American Akita and uses clear, step-by-step instructions.
It calls for worsted weight yarn in brown, black, and white. The pattern uses a US E (3.5 mm) hook and 8 mm safety eyes.
When finished, the amigurumi dog measures about 6 inches long. The pattern comes as a digital PDF and suits crocheters with basic skills.
2) Worsted weight yarn in brown, black, and white
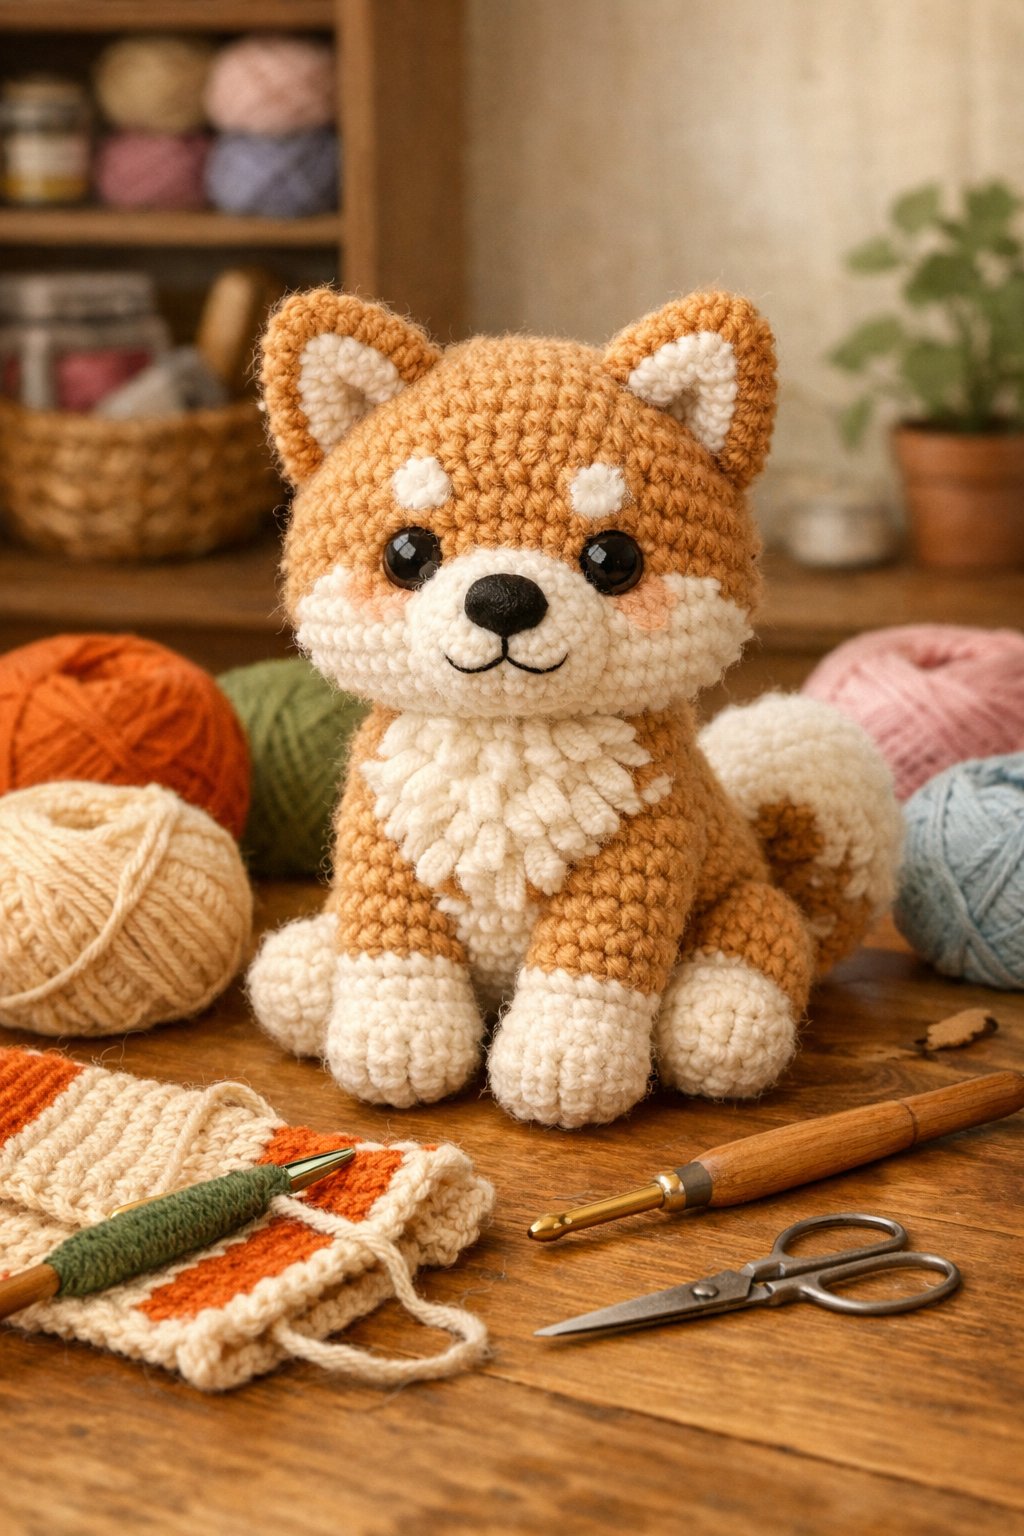
The pattern uses worsted weight yarn to give the Akita a firm shape and clear details. This yarn weight works well for amigurumi and keeps stitches tight and even.
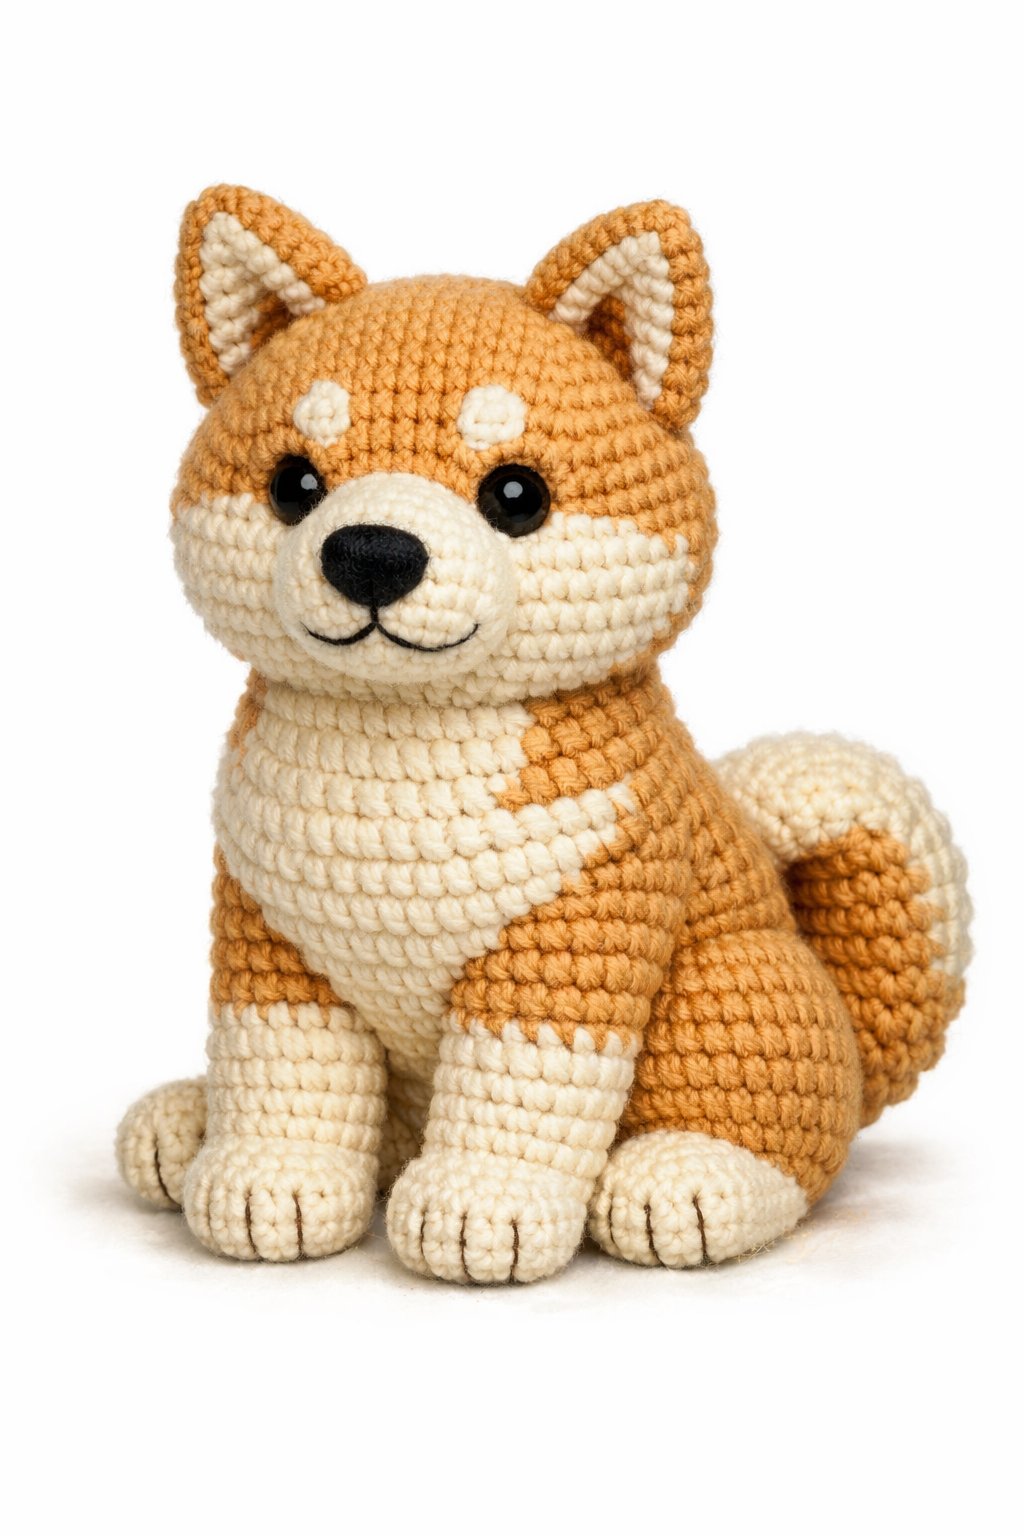
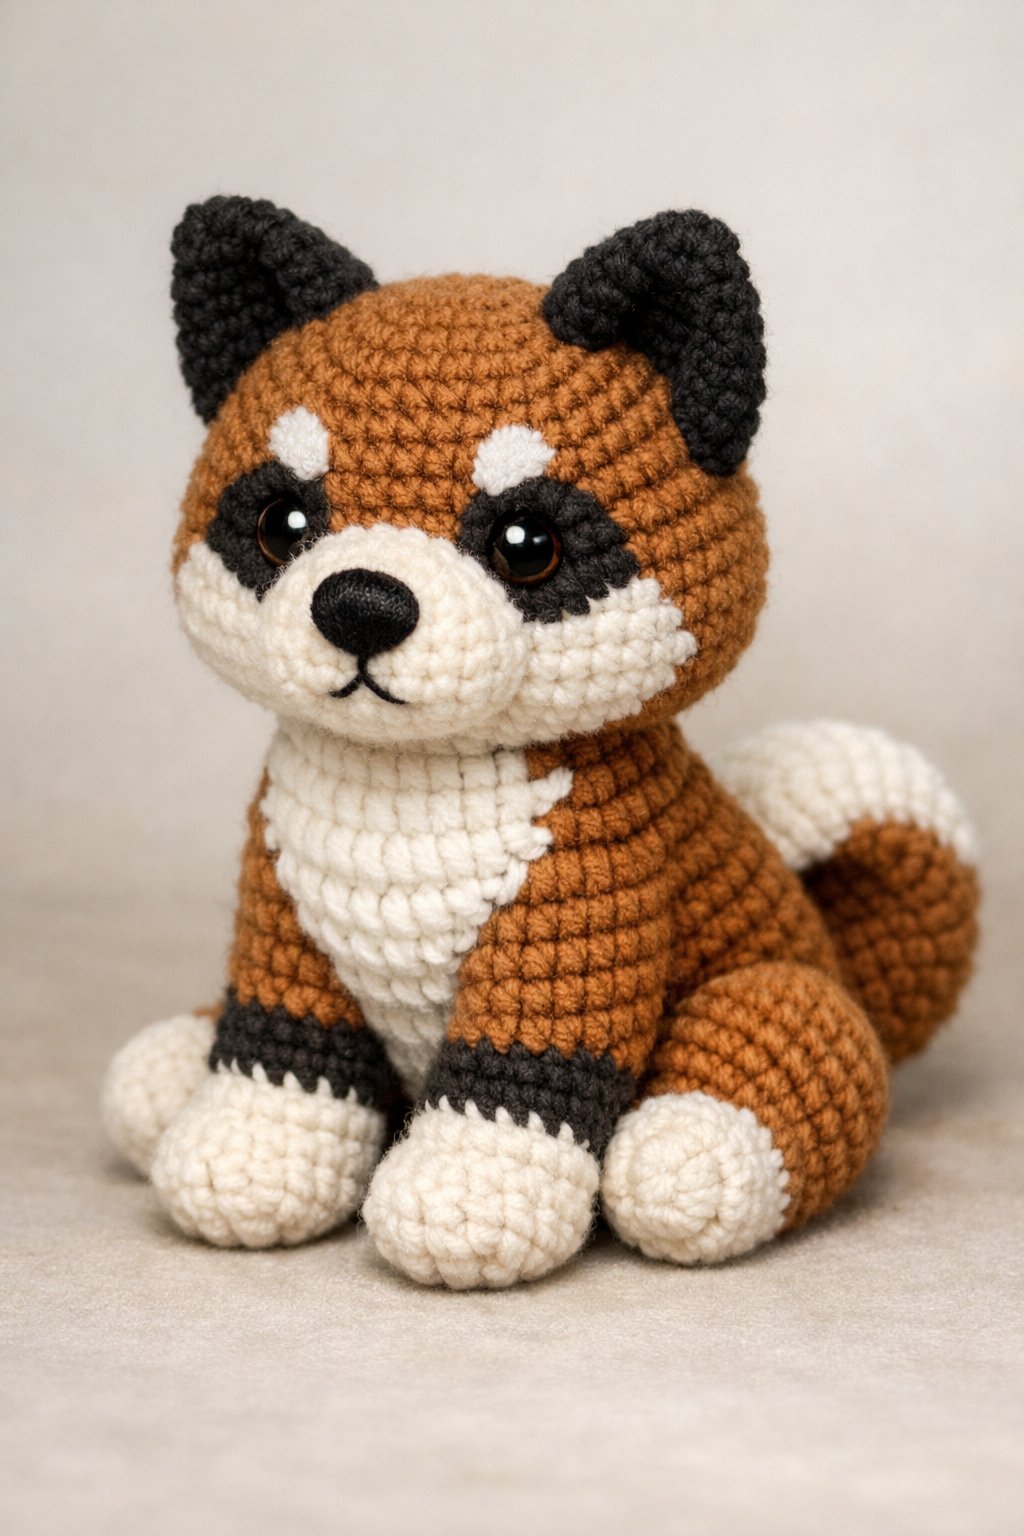
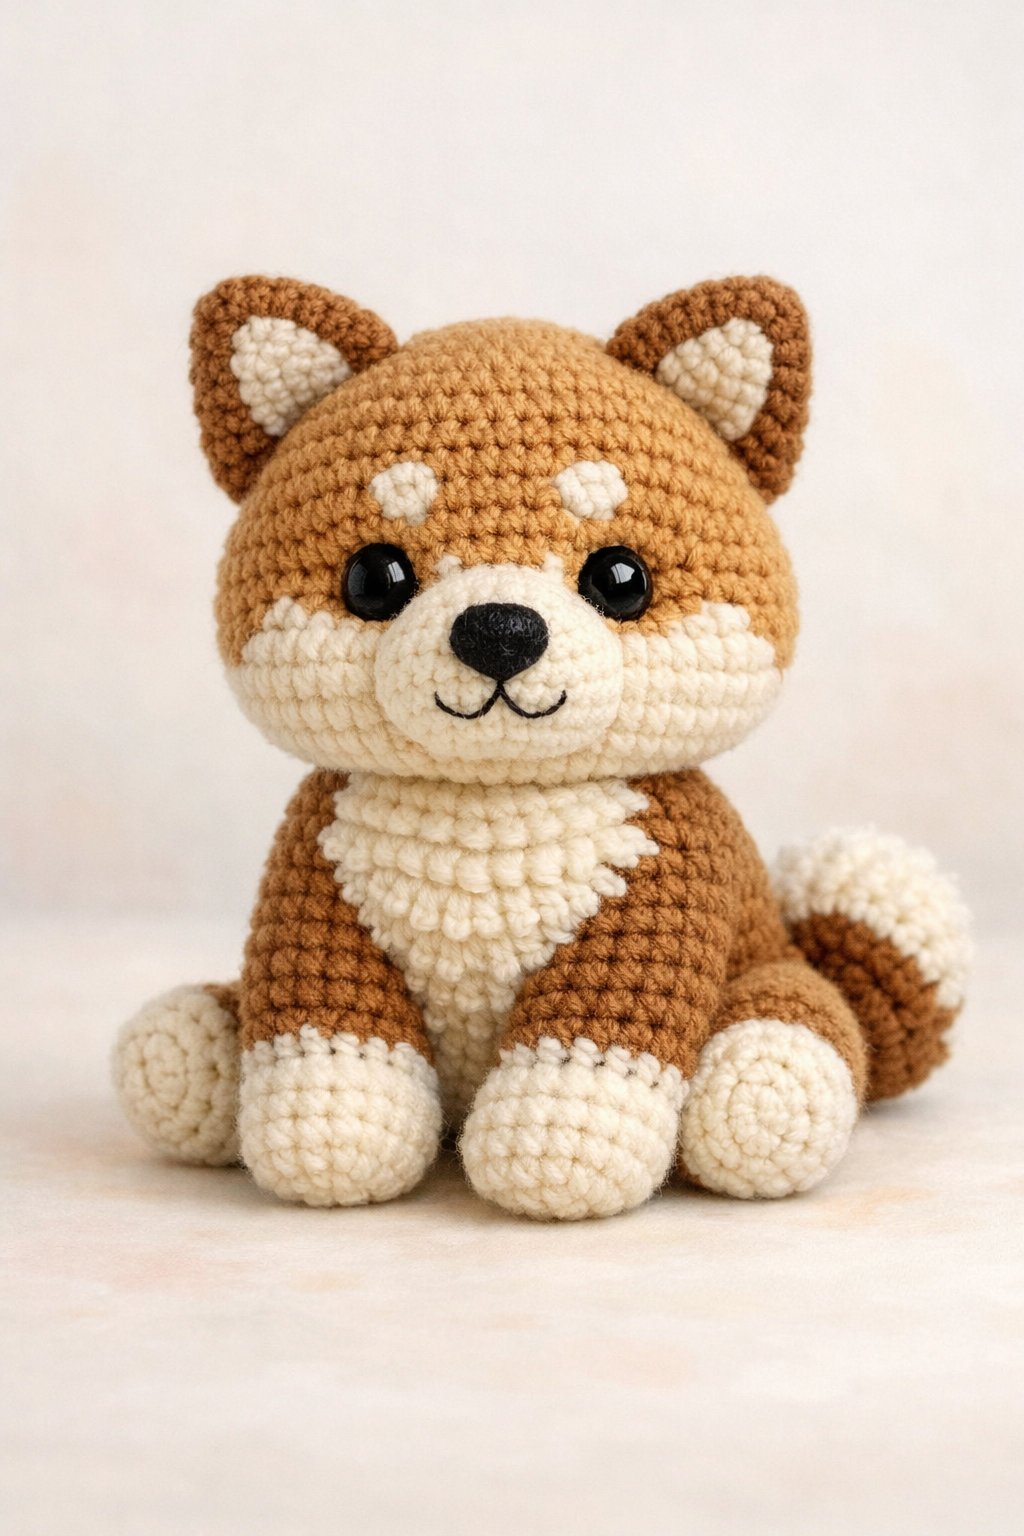
Brown forms the main coat and sets the base color. Black adds contrast for markings like the face and ears. White highlights the chest, muzzle, and small accents.
Using the same yarn weight for all colors helps keep the size and texture consistent. It also makes color changes smoother during stitching.
3) US E / 3.5mm crochet hook
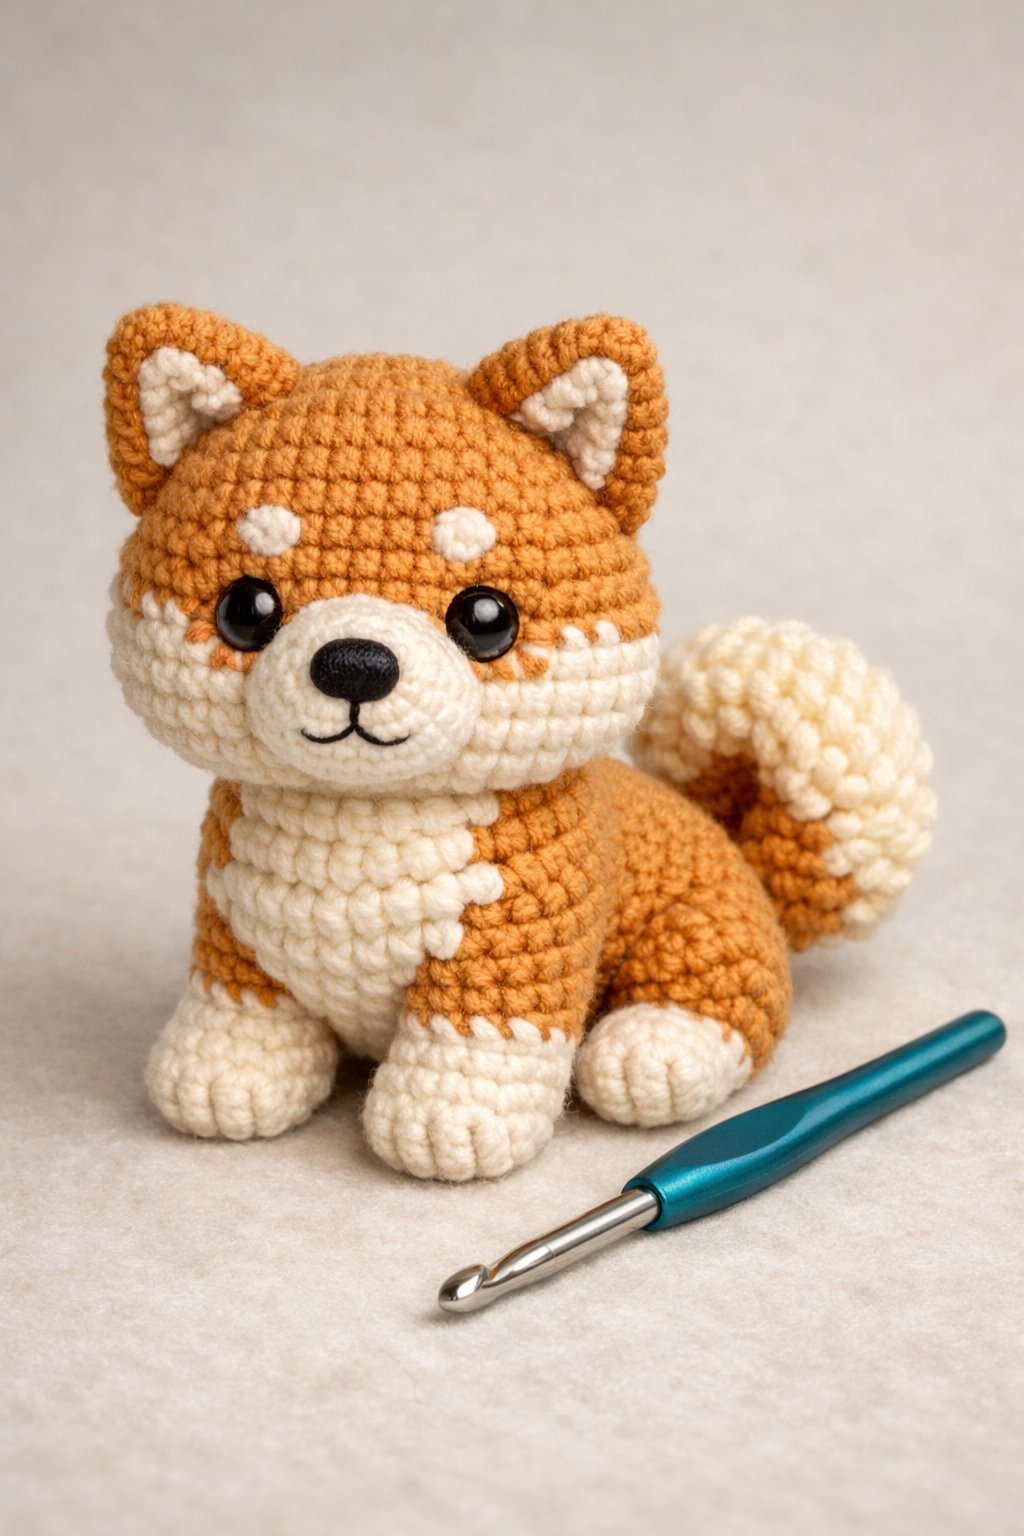
The pattern uses a US E / 3.5mm crochet hook to shape small, firm stitches. This size helps the fabric stay tight, which keeps the stuffing from showing.
The hook works well with worsted weight yarn listed in the pattern. It gives the Akita a smooth surface and clear details.
Most crocheters find this hook size easy to control. It allows steady tension without slowing the work.
4) 8mm safety eyes for realistic detail

The pattern uses 8mm safety eyes to give the Akita a calm, natural look. This size fits the head shape well and keeps the face balanced.
Plastic safety eyes come with locking washers that hold them in place. Once attached, they stay secure during normal handling.
Many craft stores and online shops carry 8mm safety eyes made for amigurumi. Black eyes work best for this design and match real Akita coloring.
5) Approximate finished size: 6 inches (15 cm) long
The finished AmiDogs Akita measures about 6 inches, or 15 centimeters, from nose to tail. This size matches the standard scale used across the AmiDogs pattern range.
At this length, the dog fits well in the hand and works as a small display piece. It also suits gifting or adding to a shelf without taking much space.
The final size depends on yarn weight, hook size, and stitch tension. Small changes in these factors may slightly change the finished length.
About AmiDogs Akita Amigurumi Dog Crochet Pattern
The AmiDogs Akita amigurumi dog crochet pattern focuses on realistic breed details and clear construction. It uses standard materials, clear photos, and written steps to guide each part of the build.
Pattern Features
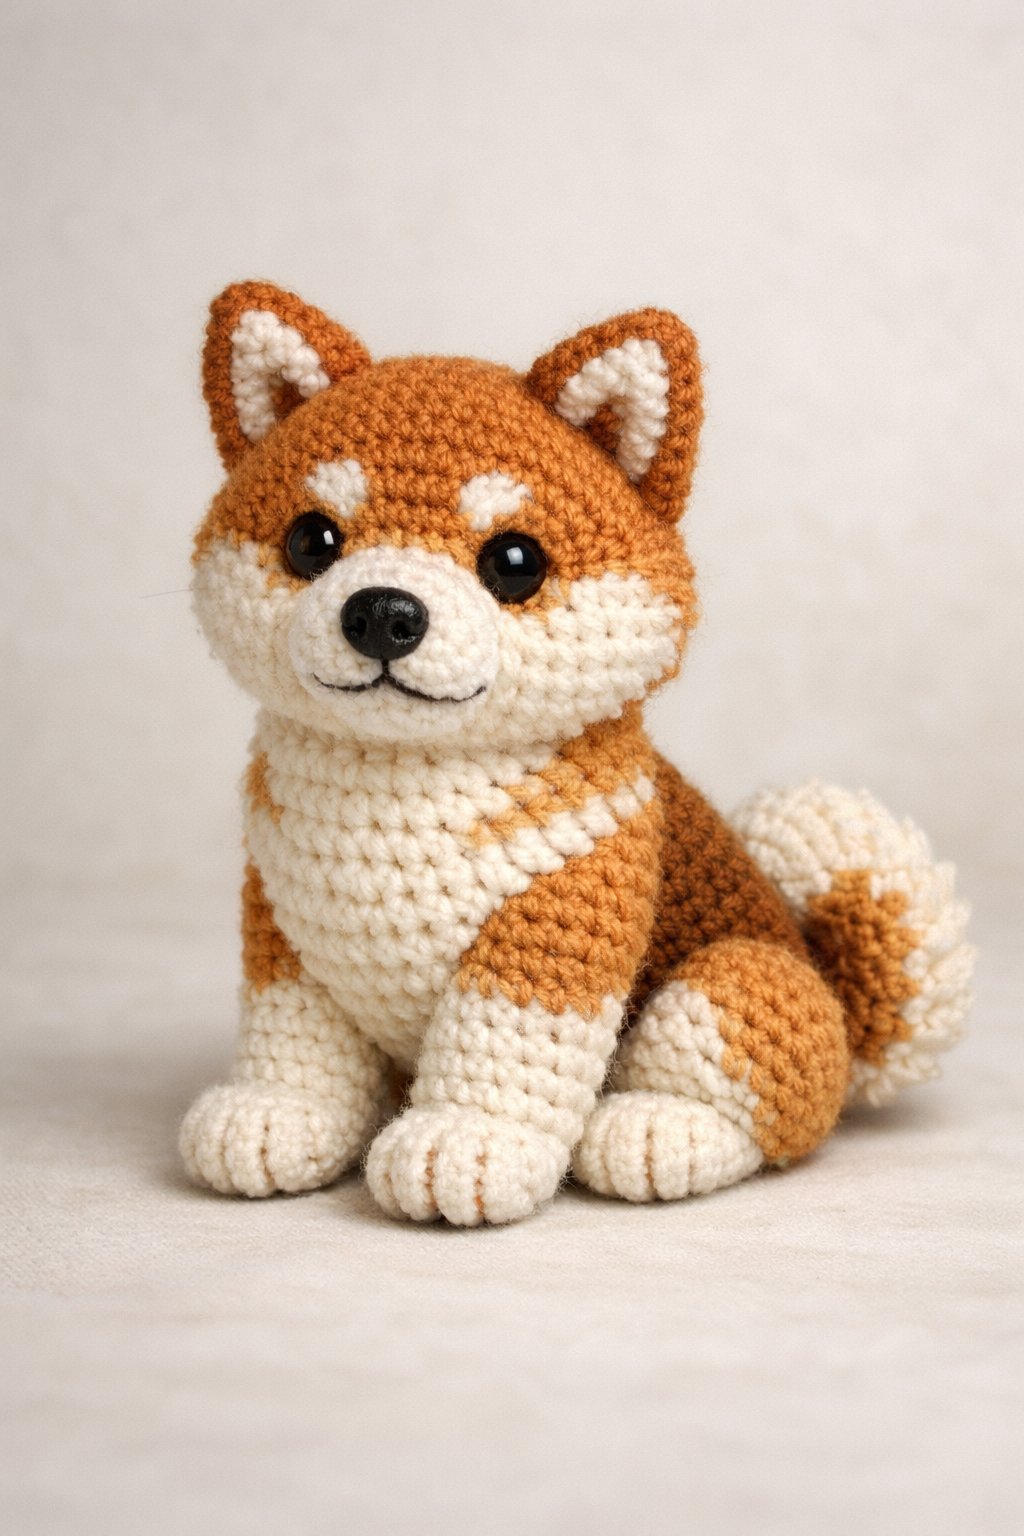
The pattern creates a small American Akita with a short muzzle, pointed ears, and a curled tail. It reflects the breed’s shape without adding extra parts that complicate assembly.
The designer provides written instructions in US crochet terms. The pattern also includes step-by-step photos, which help with shaping, placement, and final assembly. These visuals support accuracy, especially when attaching ears, legs, and tail.
The finished dog measures about 6 inches (15 cm) long when made with the suggested yarn and hook. The pattern comes as a digital PDF, which allows easy viewing on a tablet or phone while working.
Difficulty Level
This pattern suits intermediate crocheters who feel comfortable with basic amigurumi methods. It assumes knowledge of single crochet, increases, decreases, and working in the round.
The construction uses multiple parts that require careful shaping and placement. Accurate stitch counts matter, especially for the head and facial features. The pattern does not rush these steps and gives clear direction.
Confident beginners may complete it if they have made at least one amigurumi before. The photos help reduce guesswork, but patience and attention to detail remain important throughout the project.
Required Materials
The pattern lists specific materials to achieve the intended size and shape. Substituting yarn or hook size may change the final result.
Main supplies include:
| Item | Details |
|---|---|
| Yarn | Worsted weight yarn in brown, black, and white |
| Hook | US E / 3.5 mm crochet hook |
| Eyes | 8 mm safety eyes |
| Filling | Polyester fiberfill |
| Tools | Yarn needle, scissors |
The yarn colors define the Akita’s markings, so careful color choice improves realism. Using the recommended hook size helps keep stitches tight and the stuffing hidden.
Tips for Crocheting AmiDogs Akita
This pattern depends on clean shaping, steady stitch tension, and careful detail work. Small choices in tools and finishing steps affect how closely the dog matches the Akita look.
Recommended Techniques
The pattern uses single crochet in the round, so even tension matters. Loose stitches create gaps, especially around the muzzle and neck. Many crocheters size down to a US E (3.5 mm) hook with worsted weight yarn to keep the fabric firm.
Use stitch markers at the start of each round. This helps track increases and decreases, which shape the short muzzle and broad head.
Key techniques to focus on include:
- Invisible decreases to keep the body smooth
- Consistent increases to avoid flat spots
- Tight color changes for clean markings
Stuff the pieces as they form. Add filling in small amounts and press it into edges with fingers or a blunt tool. This keeps the legs and chest balanced.
Finishing Touches
Assembly defines the Akita’s expression. Place the 8 mm safety eyes evenly and slightly forward. This gives the dog a calm and alert look. Test placement before locking the backs.
Sew parts with matching yarn and small stitches. Pull the yarn snug, but avoid puckering.
Pay close attention to these details:
- Angle the pointed ears slightly outward
- Curve the tail upward and stitch it firmly in place
- Shape the muzzle with light needle sculpting
Brush the surface lightly with fingers to smooth stitches. Trim stray fibers with small scissors. These steps help the finished dog look neat and well-defined.