A cupcake sea turtle plushie combines charm and creativity in one small project. It brings together playful design with simple sewing techniques, making it a fun project for anyone who enjoys handmade crafts. This free pattern offers an easy way to create a cute and unique plush toy that adds personality to a gift, nursery, or collection.
Each stitch helps shape a soft turtle inspired by the sweetness of a cupcake. With the right fabrics, colors, and care, this project highlights how a few basic materials can transform into something special. It invites anyone with an interest in sewing to explore simple techniques and creative details at their own pace.
1) Introduction to the Cupcake Sea Turtle Plushie

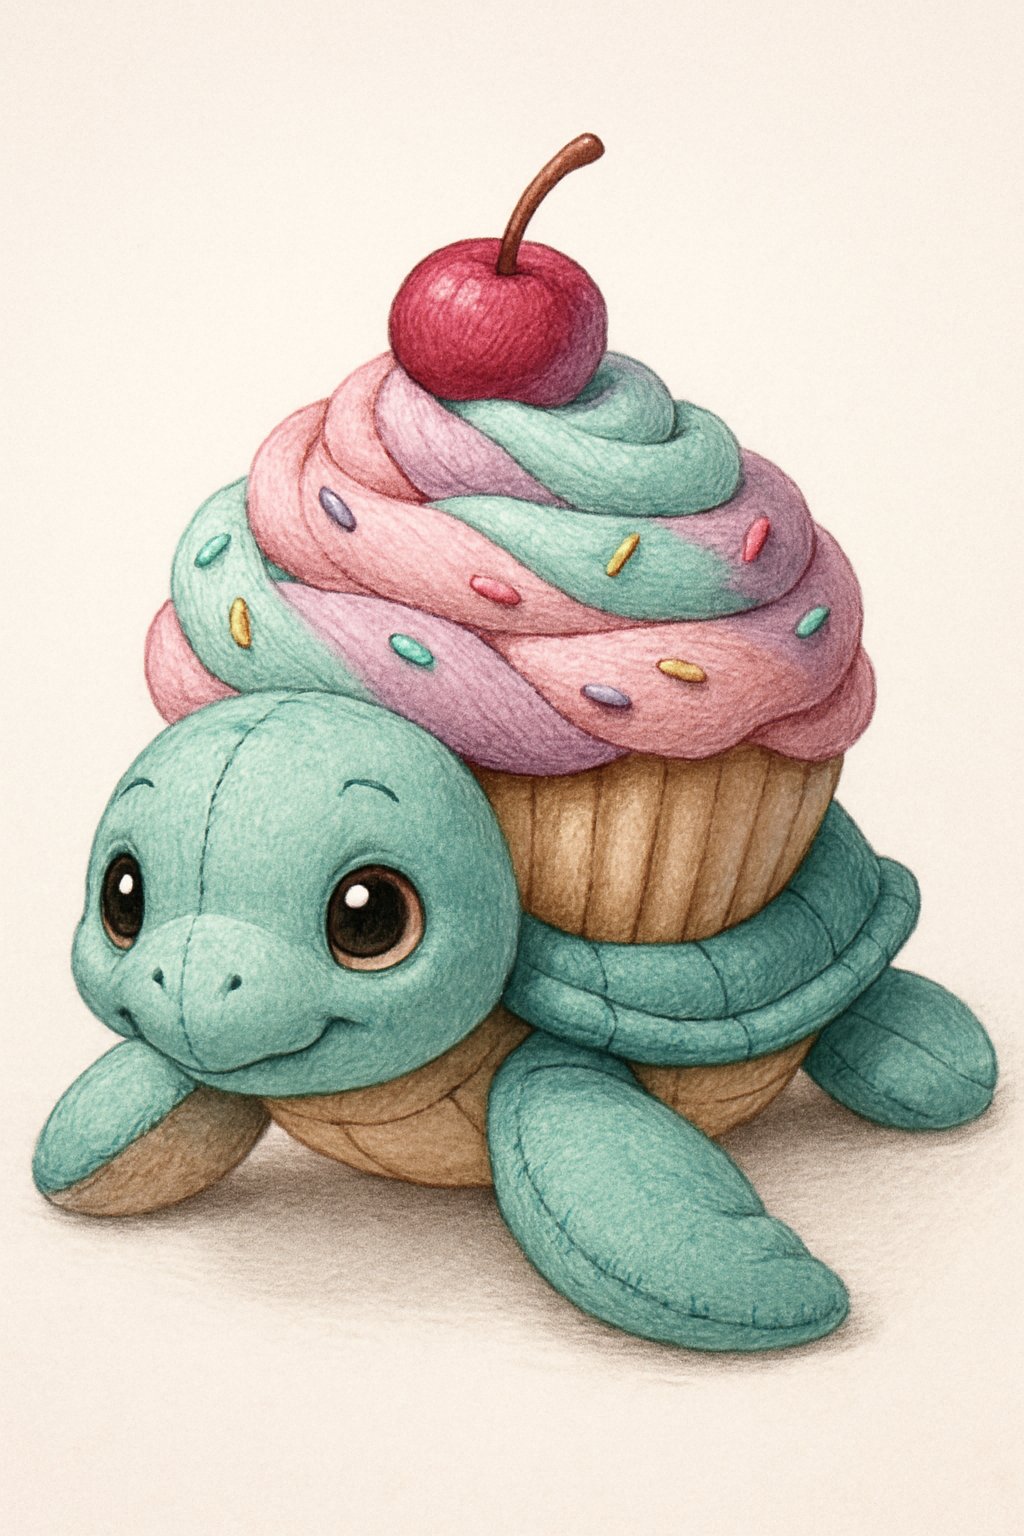
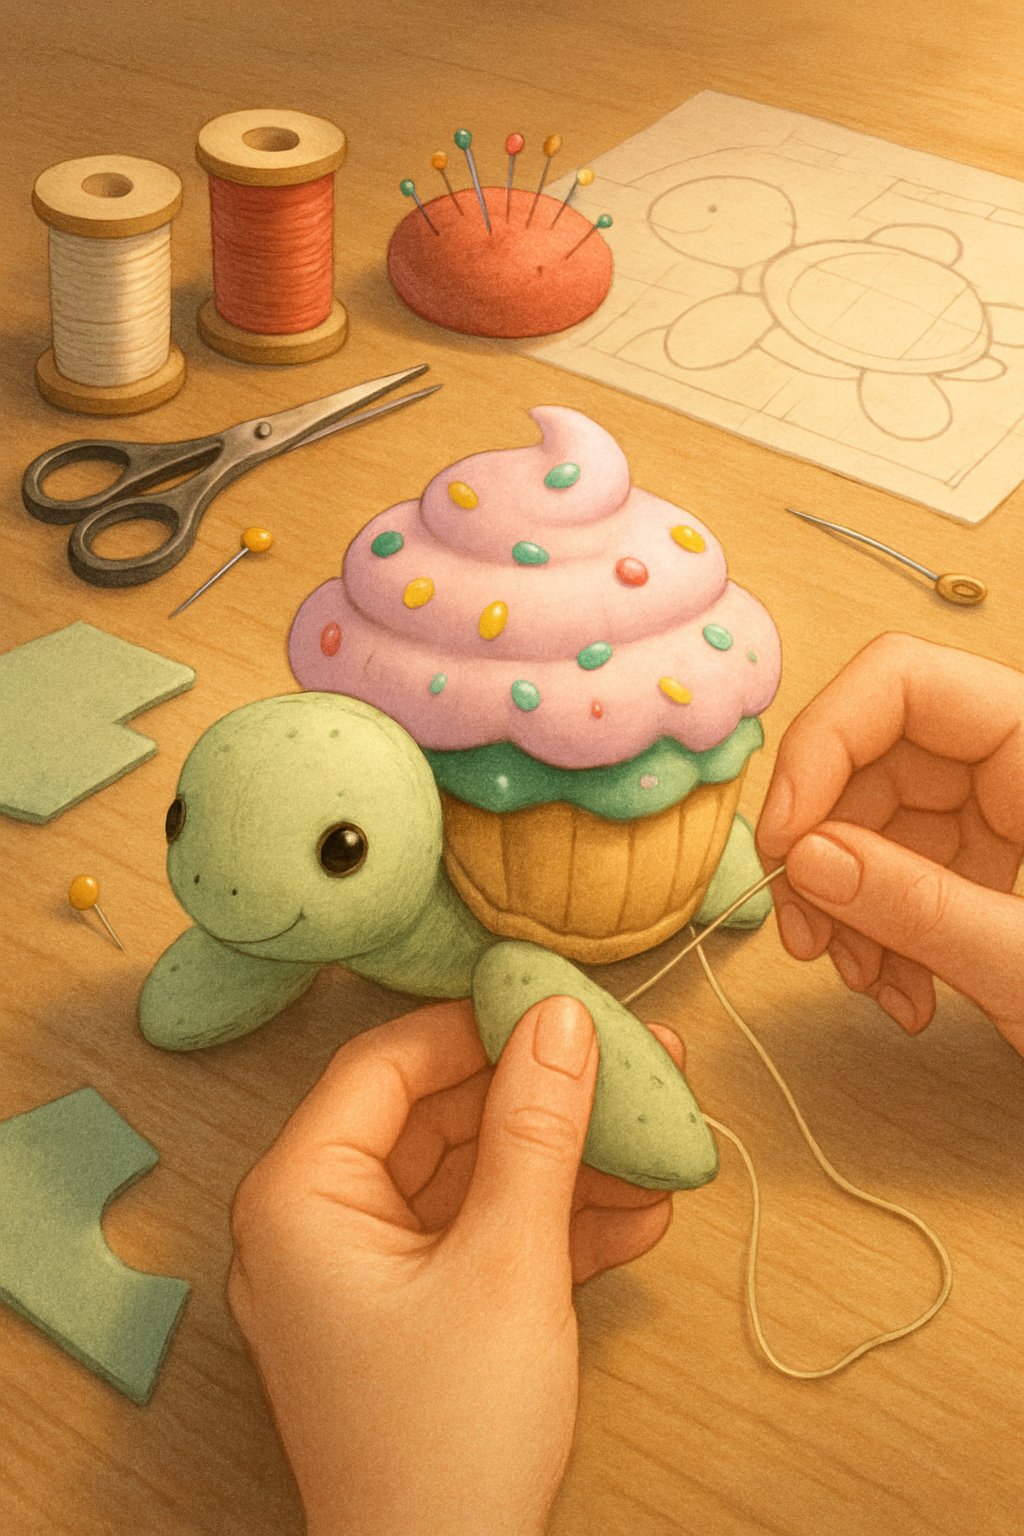
The Cupcake Sea Turtle Plushie blends the charm of ocean life with the fun of dessert-inspired design. Its soft body and round shell create a friendly look perfect for display or play.
The design often features pastel colors, whipped cream details, and a small strawberry accent. These simple touches give it a sweet, handmade feel.
Crafters enjoy this project because it suits many skill levels. The pattern includes clear steps, making it approachable for beginners while still interesting for experienced sewists.
2) Materials Needed for the Project

To create the cupcake sea turtle plushie, crafters need basic sewing supplies and soft fabrics. Cotton, fleece, or felt work well for the body and shell.
They will also need polyester fiberfill for stuffing and thread that matches their fabric colors. Small fabric scraps can be used for accents like the whipped cream top or strawberry detail.
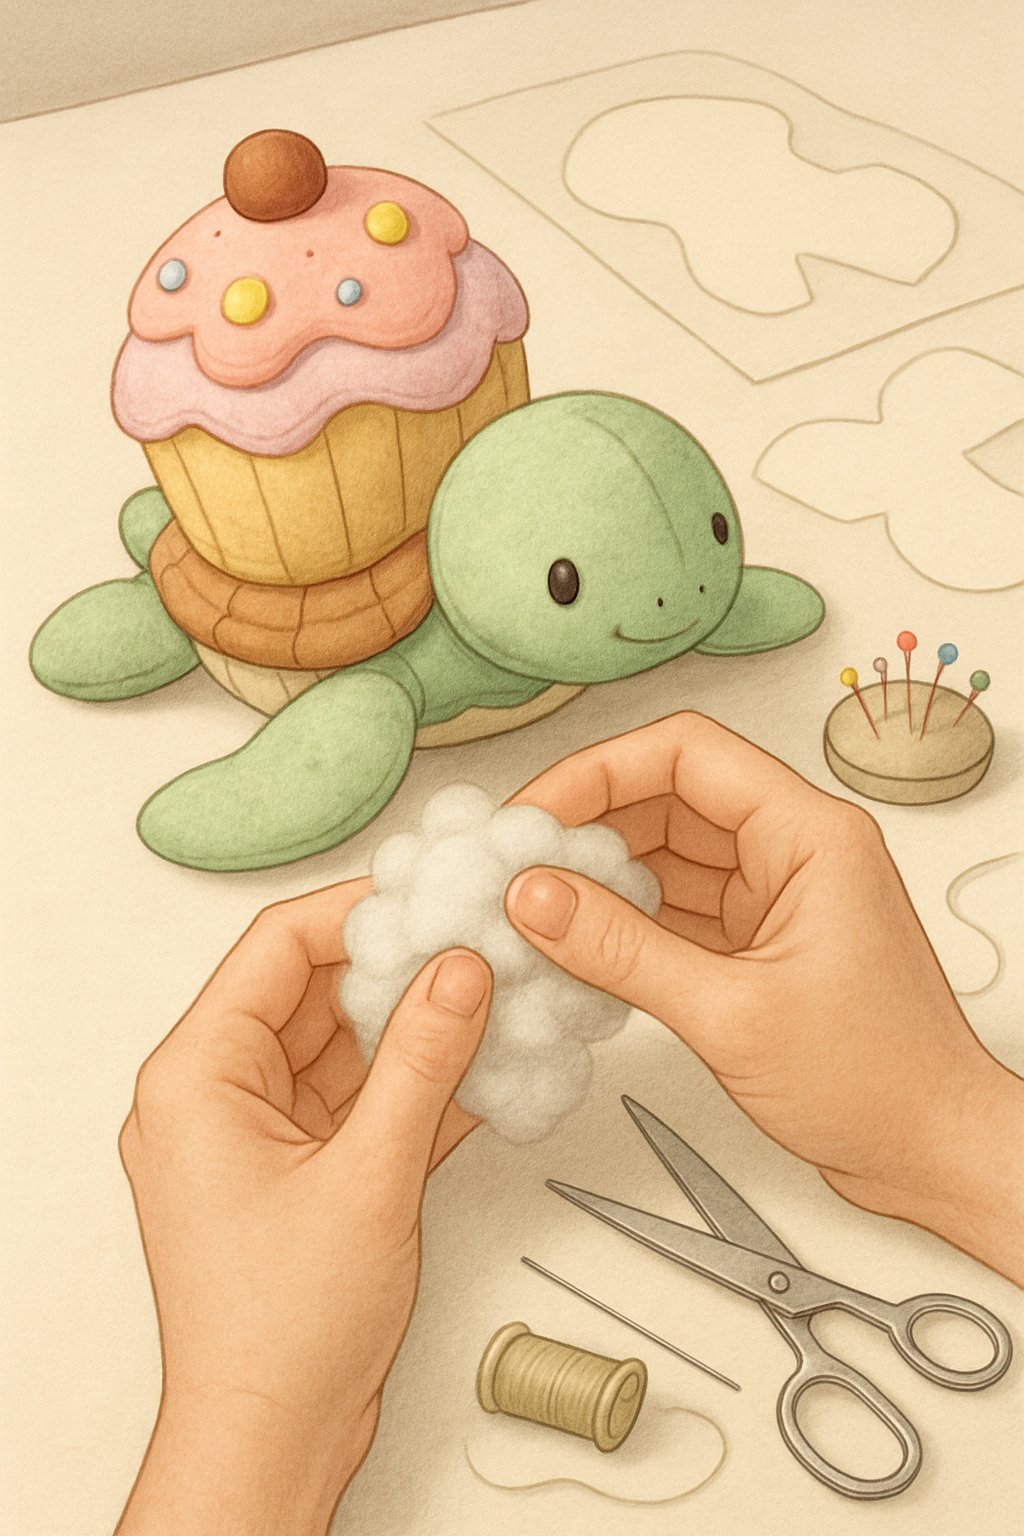
A sewing needle or machine, scissors, and pins help assemble the pieces. Optional materials include safety eyes, fabric paint, or embroidery floss to add expressive features and detail to the plushie.
3) Step-by-Step Sewing Instructions

They begin by cutting the fabric pieces for the turtle’s body, flippers, and cupcake shell using the printable template. Each piece should be cut twice to form the front and back.
Next, they sew the top curves of the shell sections together, leaving an opening for stuffing. After turning the shell right side out, it’s filled with poly-fil to give it a soft, rounded shape.
They attach the flippers and head to the body using a straight stitch, then hand-stitch the whipped cream trim and small strawberry accent on top to complete the design.
4) Choosing the Right Fabric Colors

They should start by selecting soft pastel shades or gentle brights that match the cupcake theme. Light pinks, creamy whites, and soft browns mimic frosting and cake tones well.
For a playful touch, they can add contrast with bright colors on the flippers or head. Coordinating a few shades of the same color keeps the plush cohesive.
Using patterned fabrics, such as subtle dots or stripes, can give the sea turtle extra character without overwhelming the design.
5) Stuffing and Assembly Tips
They should fill the turtle’s body evenly with soft stuffing to keep its shape smooth. Small handfuls work best, pressed gently into corners like the flippers and head.
A firm but flexible feel helps the plushie hold its form without becoming stiff. Polyester fiberfill or cotton stuffing both work well.
After stuffing, the seams should align before stitching the last opening. They can use ladder stitches for a clean, hidden finish around the base or shell edge.
6) Adding Decorative Details and Embellishments

After stitching the main body, small decorative details bring the cupcake sea turtle plushie to life. They can attach felt shapes, such as sprinkles or whipped cream swirls, to the shell for a soft texture.
A tiny fabric strawberry or bead works well as a simple garnish. Embroidery thread can outline the turtle’s eyes or shell for added definition.
Those comfortable with hand sewing may use buttons or safety eyes for a polished finish. These subtle touches make the plushie look complete without adding unnecessary complexity.
7) Tips for Gift-Giving or Nursery Decor
They can wrap the Cupcake Sea Turtle Plushie in a soft fabric bag or place it in a small gift box lined with tissue paper. This keeps it clean and gives a polished look.
For baby showers or birthdays, pairing the plushie with a handmade blanket or small storybook adds a personal touch.
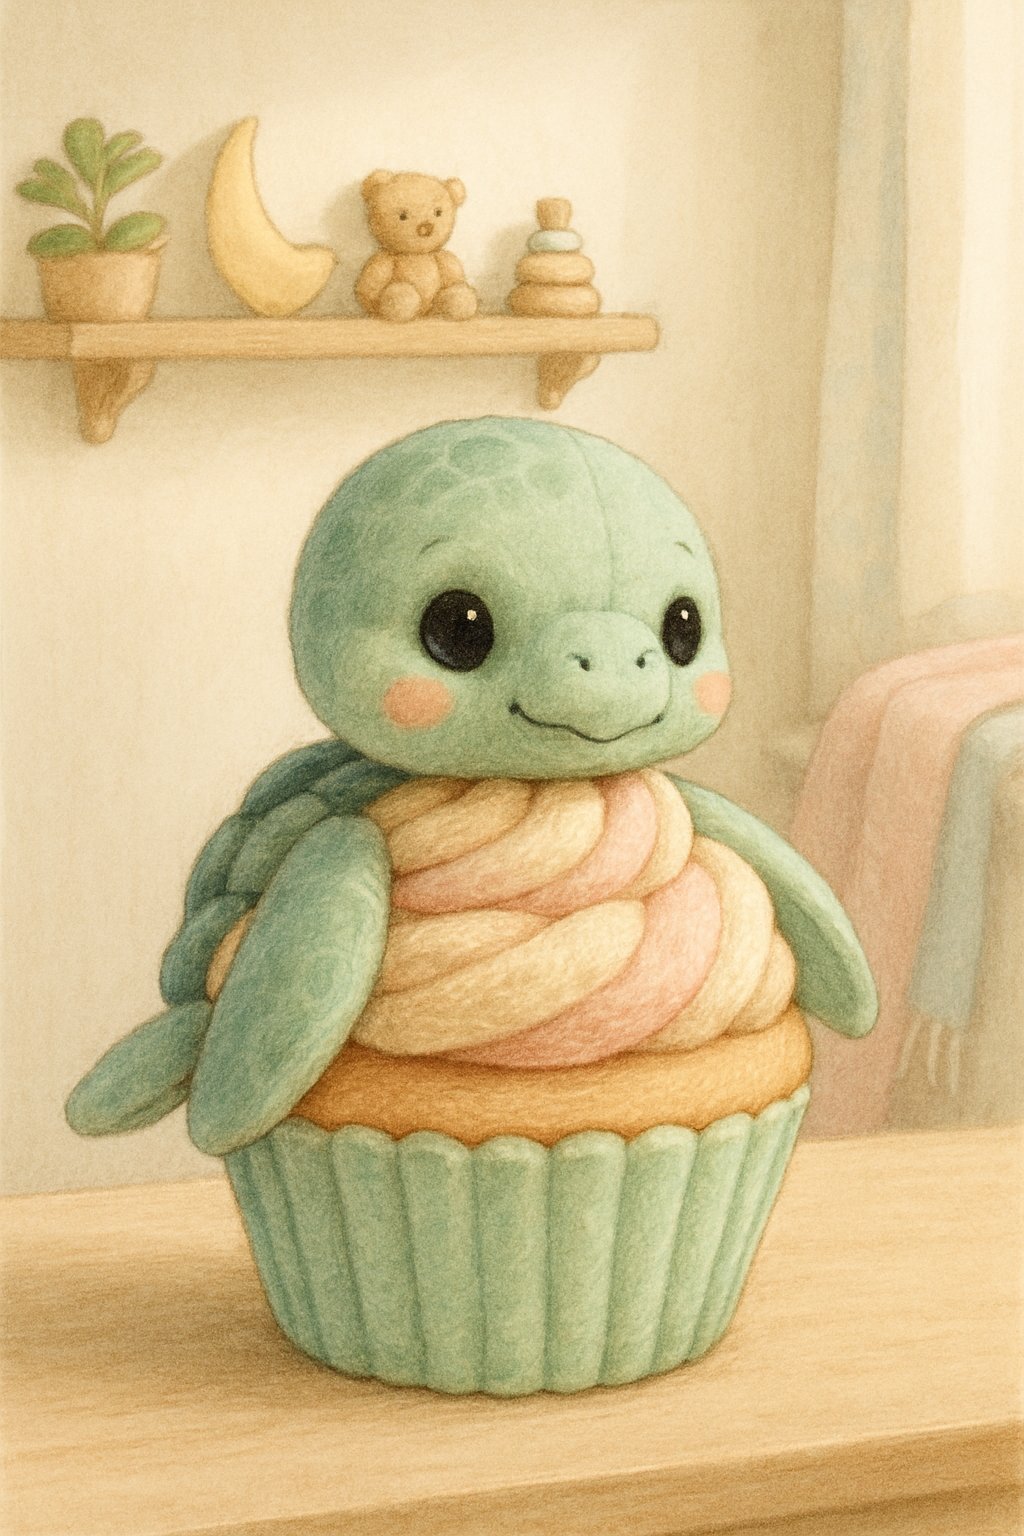
In a nursery, the plushie fits well on a shelf, crib, or rocking chair. Using gentle colors that match the room’s theme helps create a calm, coordinated space.
Choosing Materials for Your Cupcake Sea Turtle Plushie
Selecting the right materials affects how soft, durable, and appealing the finished plushie looks. Fabric choice, proper tools, and eco-friendly options all play an important role in achieving clean stitches and a neat, well-shaped design.
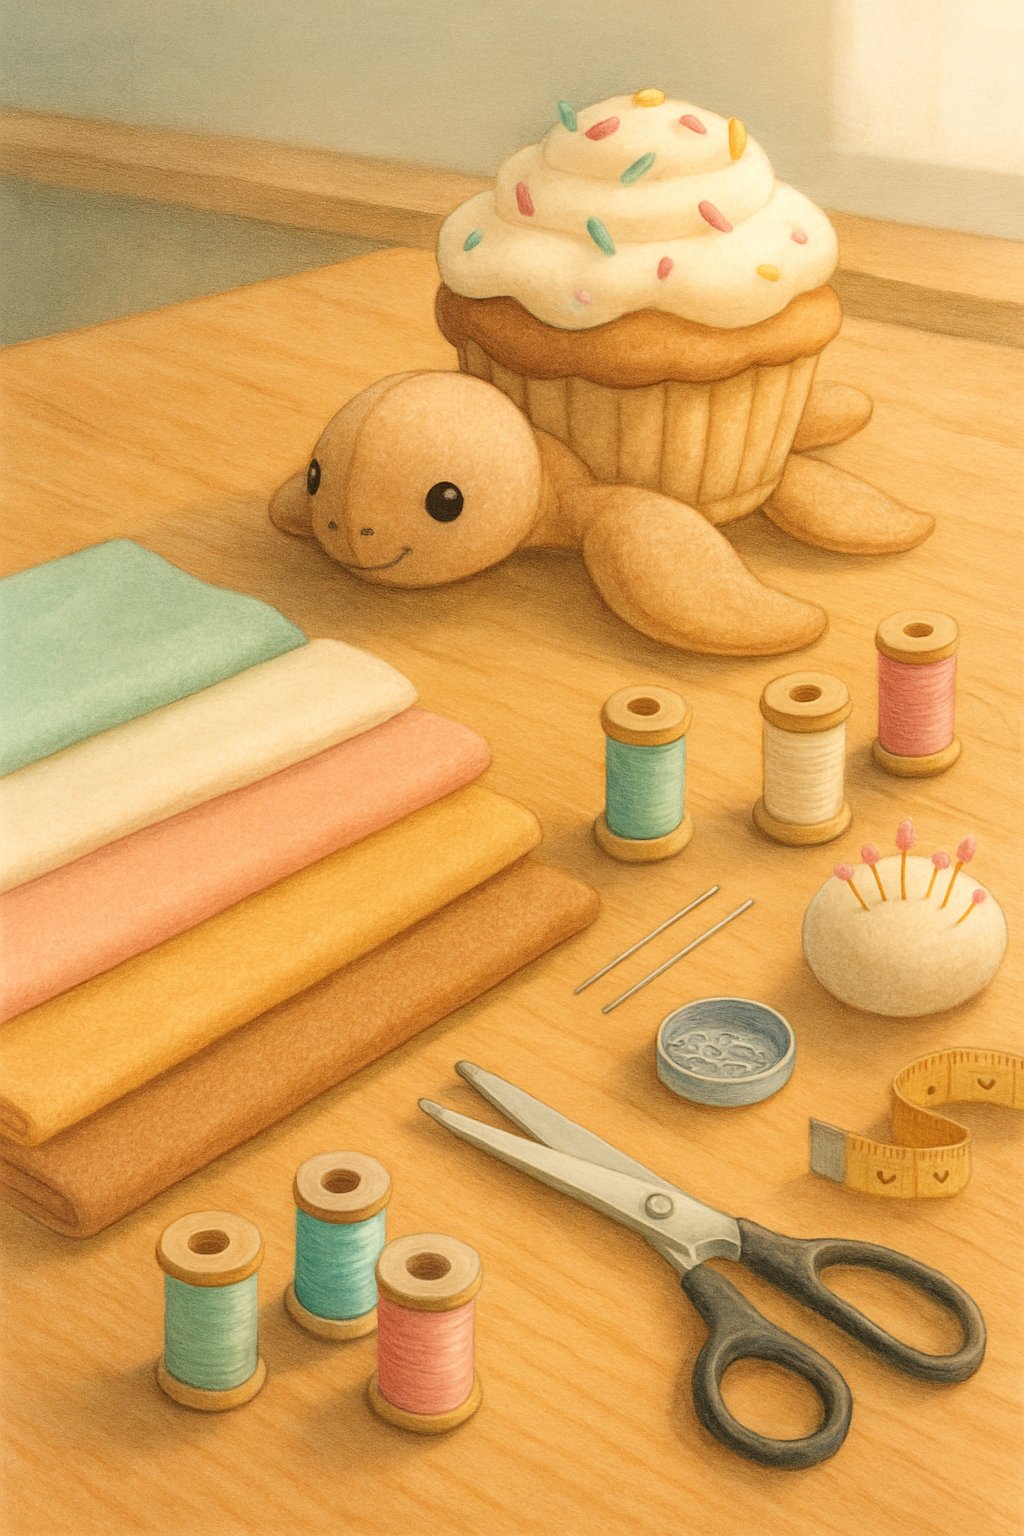
Recommended Fabrics
Soft, flexible fabrics give the plushie a smooth texture and help it hold its shape. Minky, fleece, and felt are the most common choices for plush toys. Minky provides a silky surface that feels gentle to touch, while fleece offers lightweight warmth and slight stretch, making it easier to turn and stuff. Felt, although less stretchy, holds details firmly and works well for small decorative parts like the whipped cream or strawberry topping.
For added contrast, many makers mix fabrics. For example, they may use minky for the sea turtle’s body and felt for the cupcake-style shell. Using different textures adds depth without making sewing more difficult. It’s best to avoid overly thick materials like denim or rigid cotton, as they limit shaping and are harder to stitch evenly.
Essential Sewing Tools
A basic toolkit keeps the project simple and organized. The list below shows the must-haves for clean sewing and neat assembly:
| Tool | Purpose |
|---|---|
| Fabric scissors | Cut clean edges and prevent fraying |
| Pins or clips | Hold fabric layers steady |
| Sewing machine or hand needle | Stitch seams smoothly |
| Polyester stuffing | Fill the plushie for a soft, balanced shape |
| Fabric marker or chalk | Trace pattern outlines |
| Turning tool or chopstick | Push corners and flippers into shape |
Depending on experience, a beginner-friendly sewing machine set to a short straight stitch saves time. A small hand needle is useful for attaching details like the strawberry accent or shell decorations. Precision tools help the project look consistent and professional.
Eco-Friendly Material Alternatives
For those who prefer sustainable crafting, recycled and plant-based options can replace standard supplies. Organic cotton fleece or bamboo velour serve as soft, biodegradable alternatives to synthetic fabrics. Their smooth textures mimic traditional plush materials while reducing plastic waste.
Stuffing can also be made from recycled polyester fiberfill or shredded fabric scraps. For detail pieces like the whipped topping, natural felt made from wool or plant fibers provides structure without synthetics. Choosing sustainable thread, such as cotton or lyocell, further limits environmental impact.
Using eco-conscious materials may slightly change the texture or flexibility, but it still results in a durable, attractive plushie suitable for gifts or display.
Tips for Sewing and Customizing
A neat, durable finish depends on starting with simple stitches, adding texture and color with small extras, and using embroidery to bring the sea turtle’s features to life. Materials like felt, cotton, or fleece each add a different look and feel to the finished plushie.
Beginner Sewing Techniques
New sewists should focus on clean, even stitching and accurate cutting. Straight stitches work well for attaching pieces, while a whip stitch or ladder stitch helps close the stuffed body neatly. Using short stitches prevents the seams from stretching or leaving gaps.
Felt or cotton fabric is recommended since both handle easily and don’t fray much. Cutting around template edges with sharp scissors ensures smooth lines, especially around the shell’s curves and flippers.
For stuffing, small clumps of polyester filling packed evenly give the plushie a smooth shape. A simple tip: fill gradually and adjust by pressing lightly into corners and edges so the turtle keeps its round form without lumps.
Basic tools checklist:
- Fabric scissors
- Hand-sewing needle
- Matching thread
- Pins or clips
- Polyester stuffing
Adding Decorative Details
Decorative touches make the plush turtle unique. A “cupcake” style shell can use layered fabrics or felt cutouts to mimic icing swirls and cherries. Using light pink or cream fabric pieces on top of a green or brown base creates a fun contrast.
Attaching small felt pieces with fabric glue or hand stitches adds stability. Sequins, tiny beads, or a bit of ribbon can enhance the cupcake look but should be sewn securely, especially if the project is for a child.
Example combinations:
| Feature | Fabric | Accent Color |
|---|---|---|
| Shell top | Light pink felt | White swirl detail |
| Base shell | Mint green cotton | Strawberry red bead |
| Flippers | Matching body color | None or simple trim |
Keeping the decorations balanced avoids bulk and helps the shell lie flat. Using lighter embellishments ensures the plushie stays soft and huggable.
Personalizing With Embroidery
Embroidery adds small character details without extra materials. Simple stitches can define the face, shell hexagons, or frosting pattern. A backstitch outlines the eyes and mouth, while a satin stitch can fill small shapes like sprinkles or scales.
He or she can use contrasting thread colors to highlight key features—dark thread for smiles, light thread for shell designs. Practicing on a fabric scrap first helps maintain even tension.
For labeling or gifting, stitched initials or short messages on the underside of the flipper or shell make the plushie special. Using embroidery floss in 2–3 strands keeps details crisp without making the fabric bulky.