They can create a soft and friendly dog with a golden retriever crochet pattern free online. Many designers share patterns that help crafters make cute puppies and lifelike plush dogs without cost. They can find free golden retriever crochet patterns online that include clear steps, simple guides, and options for different skill levels.
This article explores several free patterns, from small amigurumi puppies to fluffy plush designs. It also covers basic materials and simple tips that help shape realistic ears, fur, and faces so the finished project looks like a true golden retriever.
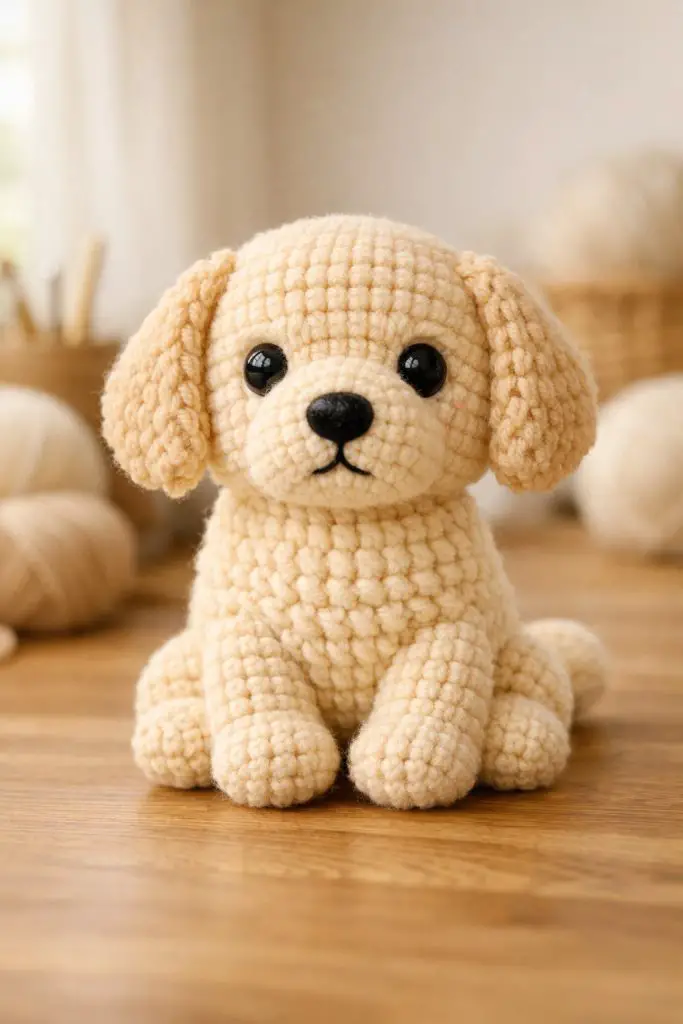
1) Amigurumi Golden Retriever Free Crochet Pattern by Ribblr
Ribblr offers a free Golden Retriever crochet pattern designed for amigurumi fans. The pattern includes step-by-step written instructions that guide the maker through each part of the dog.
It also provides a video tutorial, which helps beginners follow along with each stitch. The listing outlines the needed materials and skill level, so users can prepare before they start.
Ribblr’s digital format allows progress tracking and easy access on different devices. This makes it simple to pause and return to the project at any time.
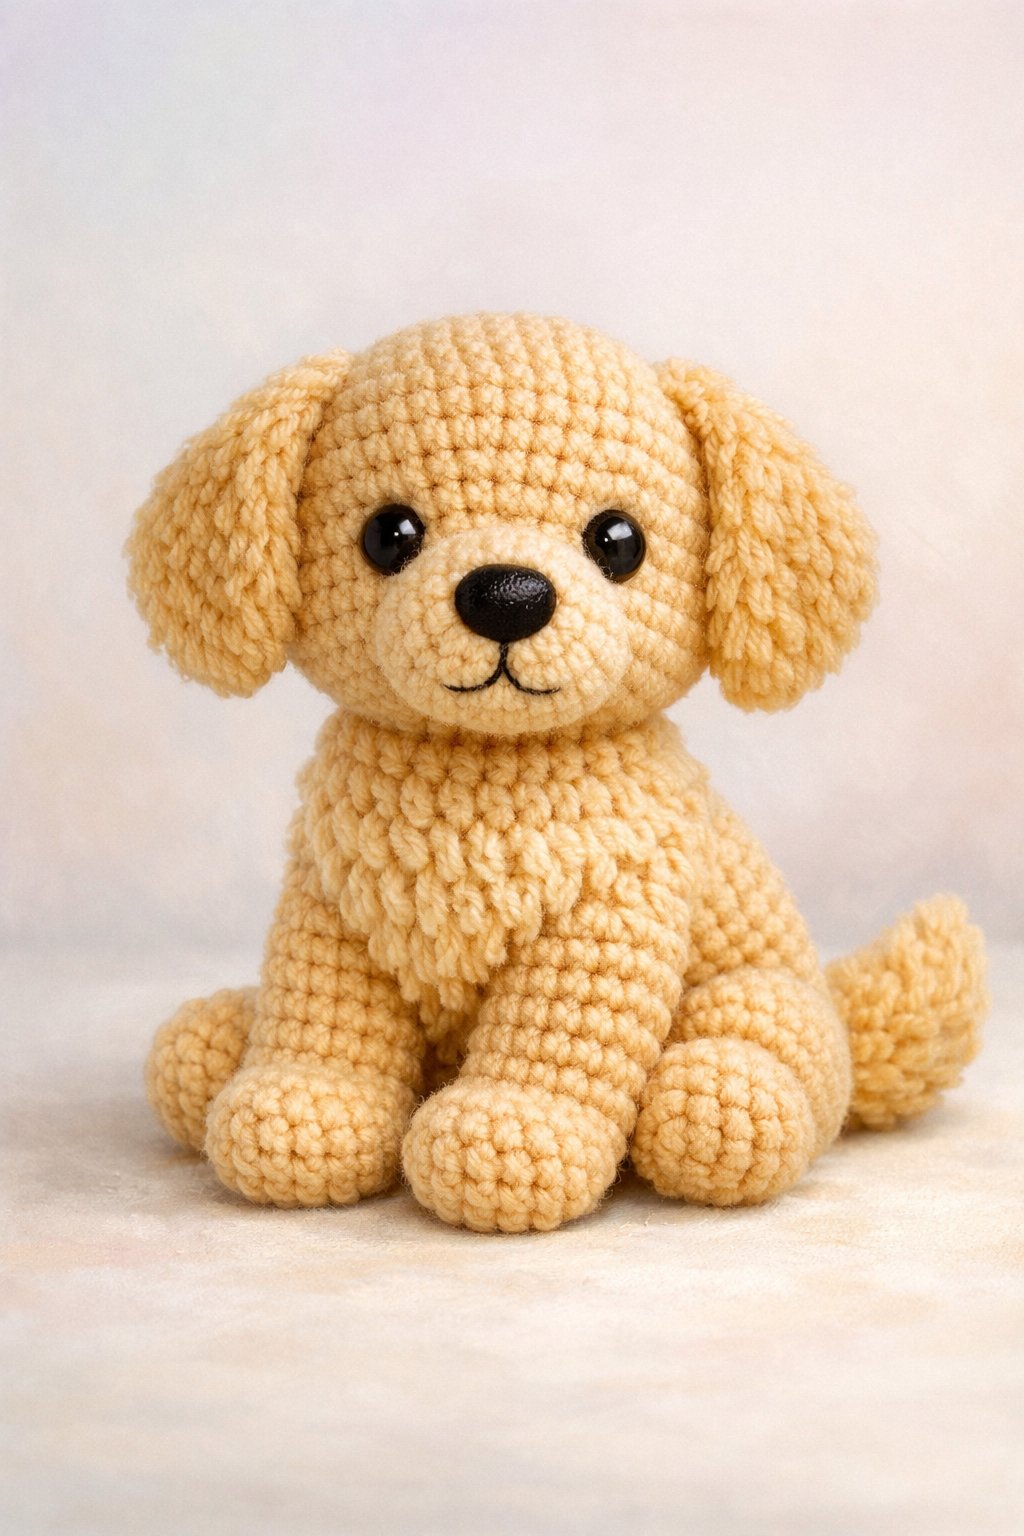
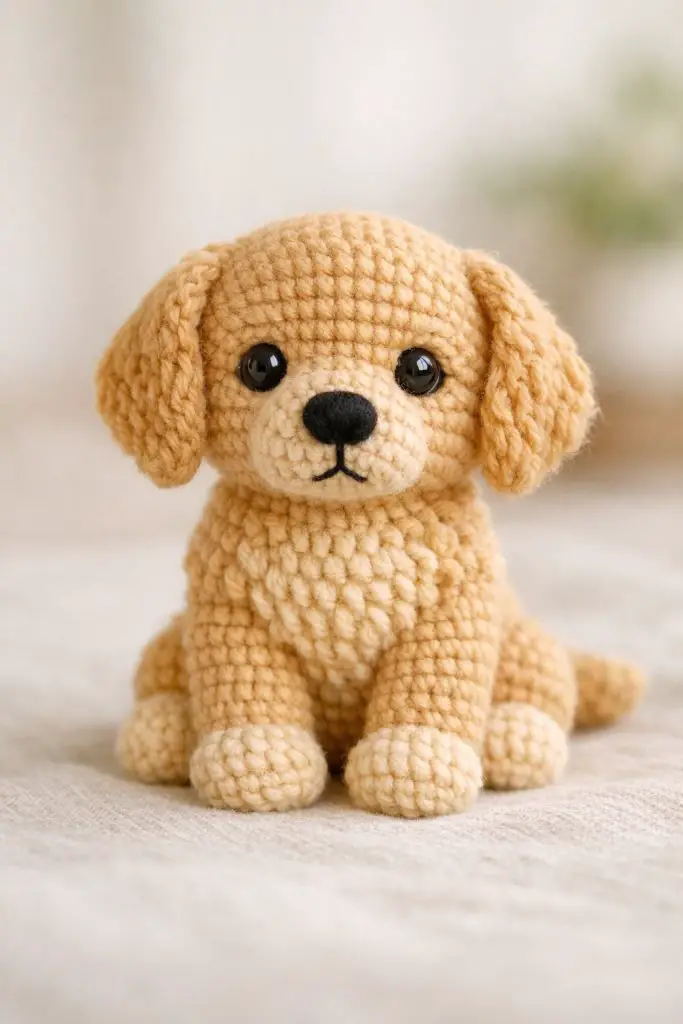
2) Golden Retriever Puppy Crochet Pattern for Beginners
A beginner-friendly golden retriever puppy crochet pattern uses simple stitches and clear steps. Many free patterns include single crochet, basic increases, and decreases. They often guide the maker through the body, head, ears, and tail in separate pieces.
Some free options also provide step-by-step photos or short video guides. These tools help new crocheters shape the muzzle and attach parts with care.
Most patterns list basic materials such as worsted weight yarn, a crochet hook, stuffing, and safety eyes. With patience and steady tension, beginners can create a soft, small puppy plush.
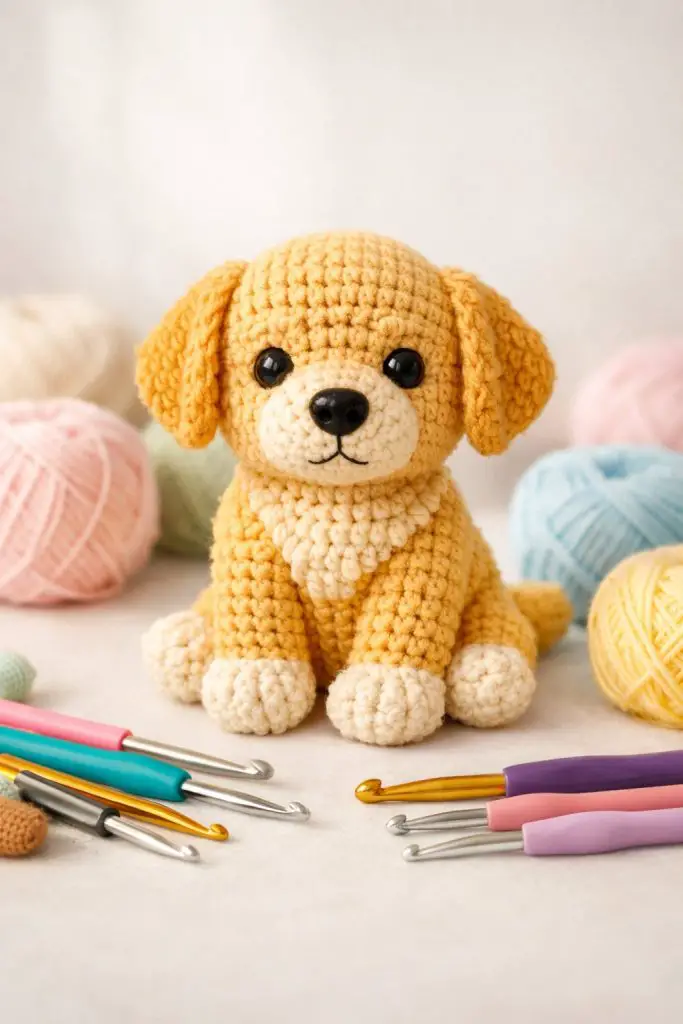
3) Sunshine Crochet Golden Retriever by The Twisted Crocheter
The Twisted Crocheter offers a free pattern called Sunshine, a Golden Retriever puppy amigurumi. The design uses golden or yellow worsted weight yarn to match the dog’s natural color.
The pattern suits beginners and confident crocheters. It includes clear step-by-step instructions, and some versions feature photo support to guide each stage.
Sunshine has a simple shape and soft features. The finished puppy works well as a toy, gift, or display piece for dog lovers.
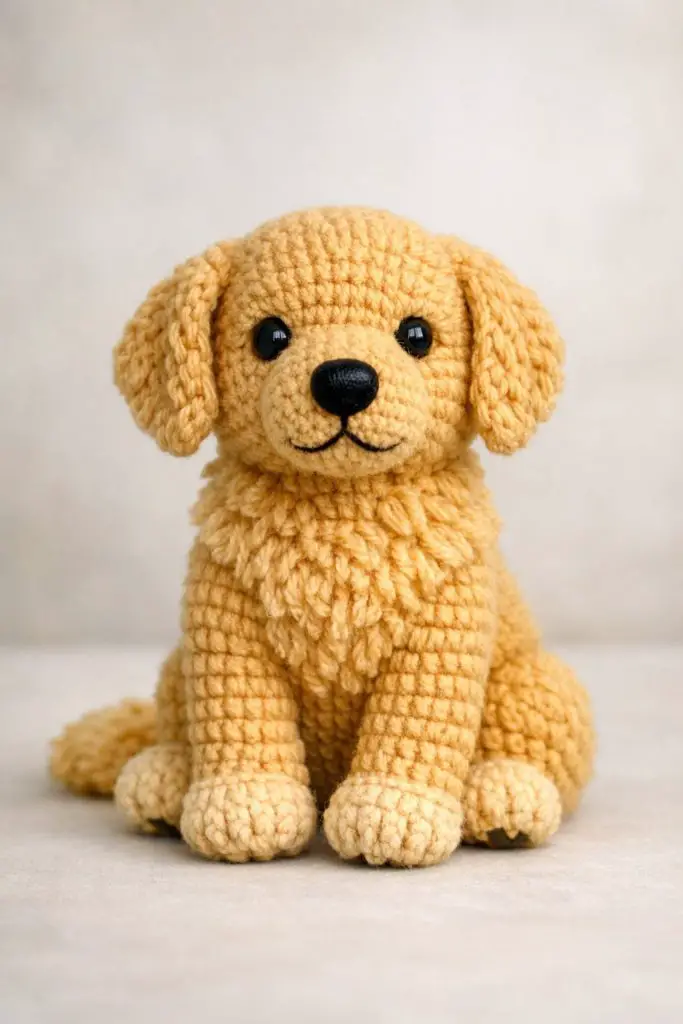
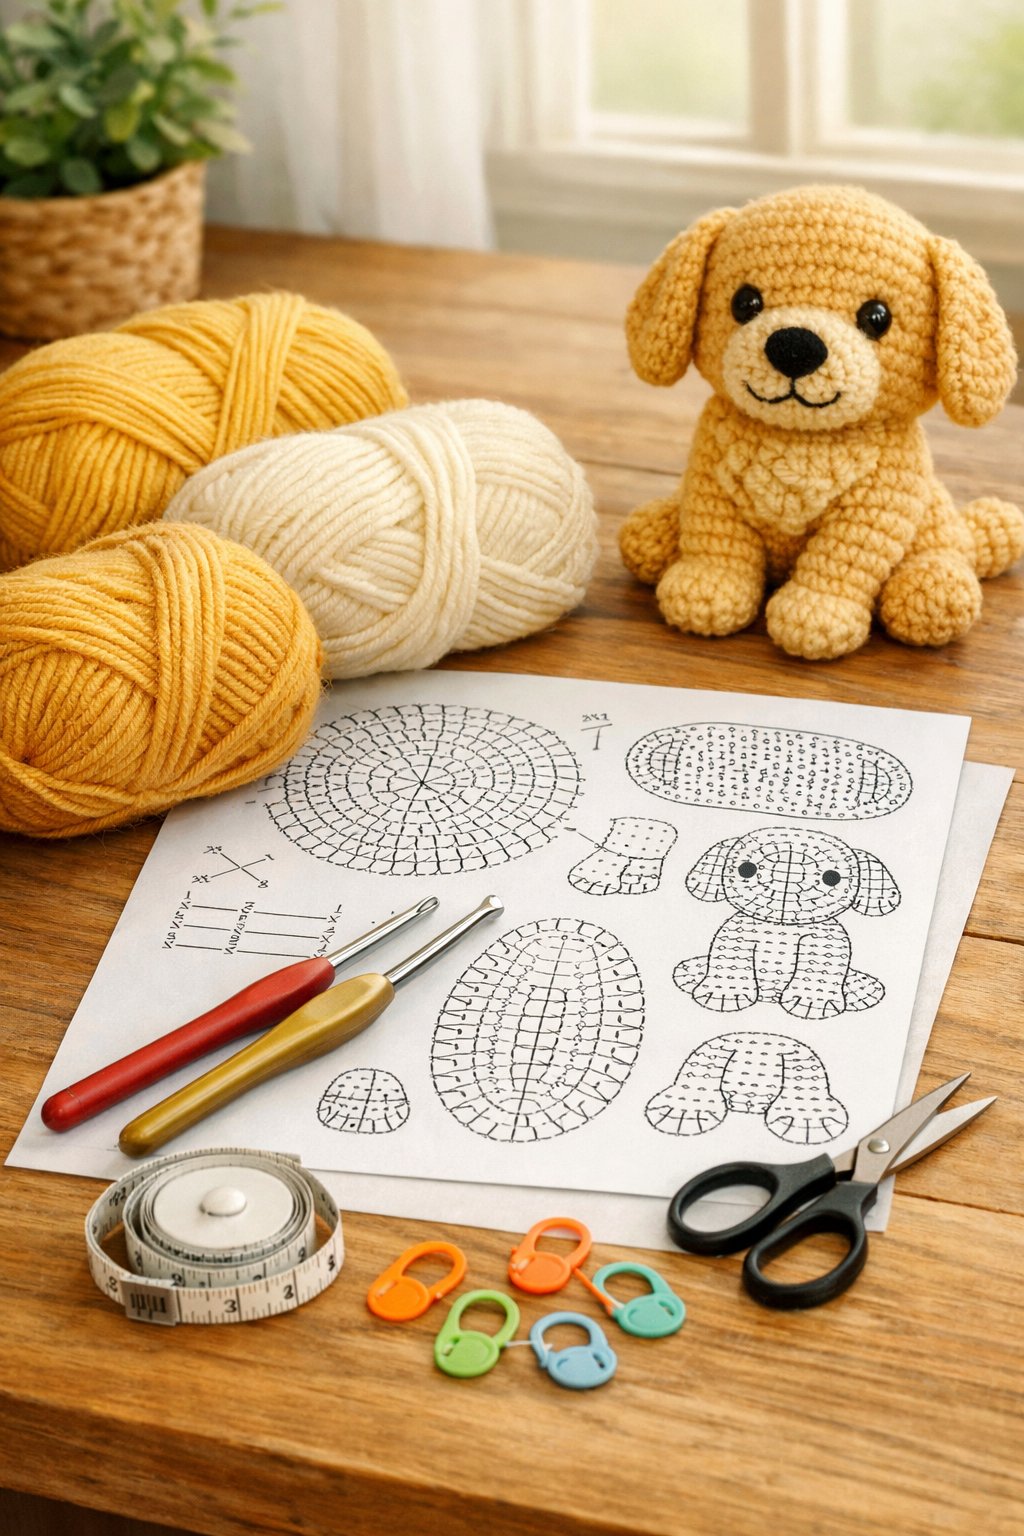
4) Free Fluffy Golden Retriever Plush Pattern with Step-by-Step Guide
This free fluffy Golden Retriever plush pattern helps crocheters create a soft and friendly toy. It suits beginners and uses simple stitches like single crochet and basic increases and decreases.
The guide lists materials such as worsted or 4ply yarn, a 3.0 mm hook, safety eyes, stuffing, and a yarn needle. It explains each round in clear steps and often includes photos to show ear, tail, and muzzle placement.
The finished plush usually measures about 8 to 10 inches tall. It captures the breed’s floppy ears, sturdy body, and gentle expression with simple shaping.
5) Little Potato Golden Retriever Puppy Crochet Pattern on Ravelry
The Little Potato Golden Retriever Puppy pattern on Ravelry offers a small, lifelike amigurumi design. Trang Luu created the pattern with clear steps and photo support. It suits crocheters who have basic skills.
The finished puppy stands about 9 inches tall, depending on yarn and hook size. The pattern often suggests 4.0 mm or 5.0 mm hooks and standard safety eyes.
This design focuses on soft features and simple shaping. Many makers choose it for a realistic golden retriever look in a compact size.
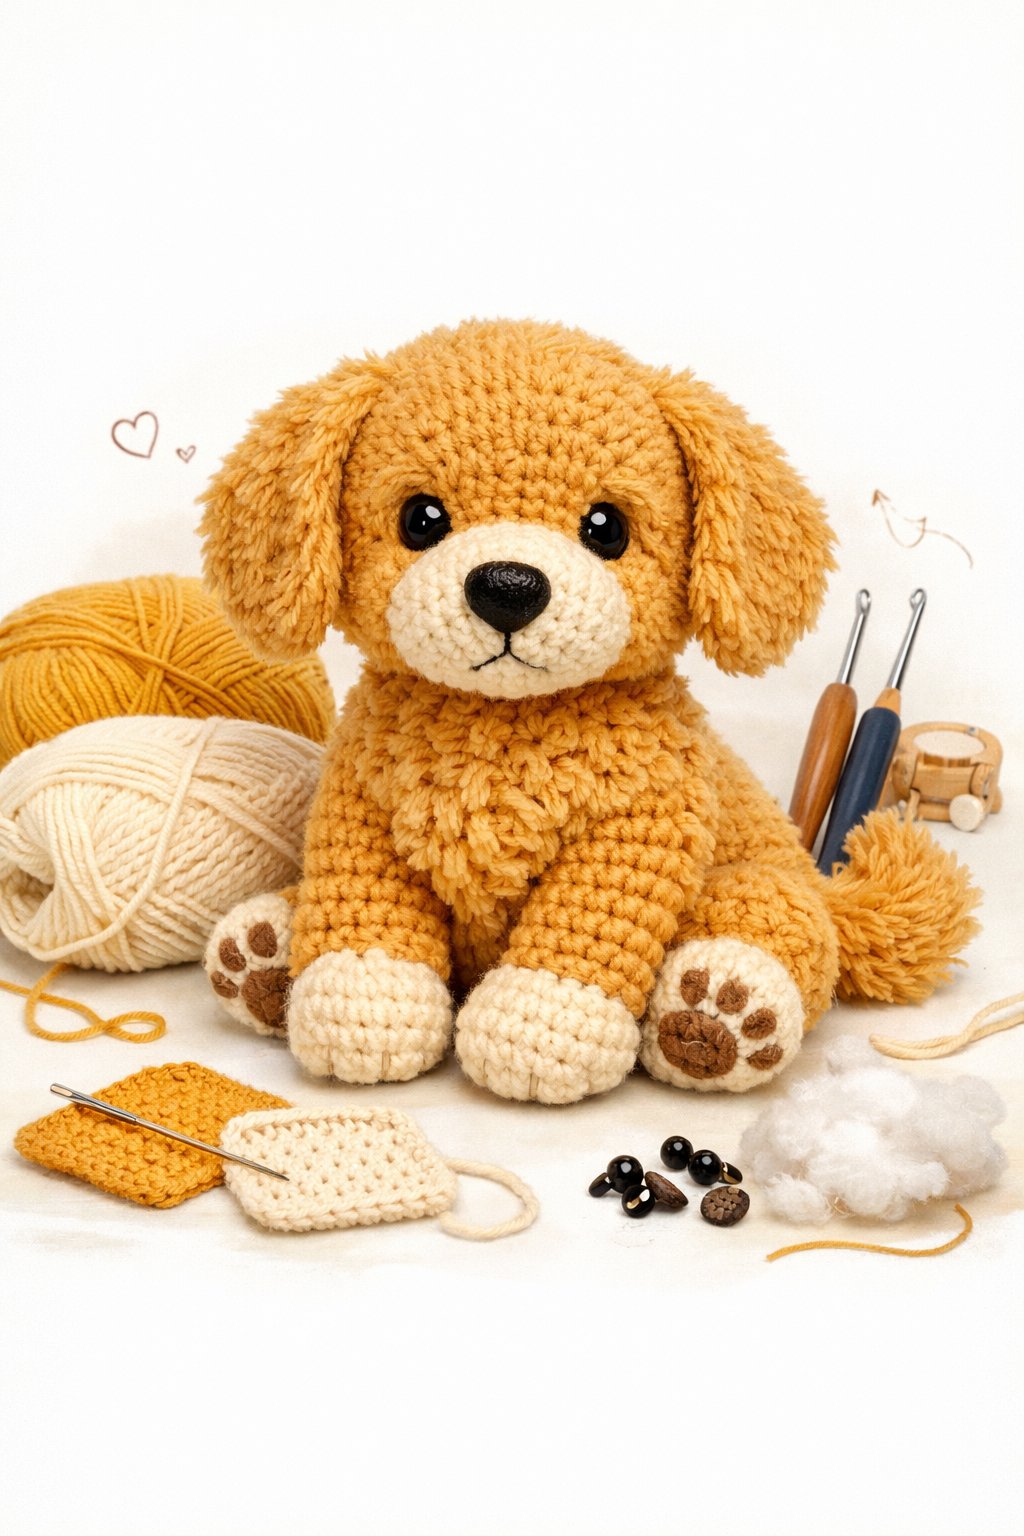
Essential Materials for Golden Retriever Crochet Patterns
A well-made golden retriever amigurumi starts with the right yarn, hook size, and basic safety tools. Careful material choices help shape clear features, tight stitches, and a soft but sturdy finish.
Selecting the Right Yarn
Most free golden retriever crochet patterns use worsted weight (#4) yarn. This size works well for small plush dogs that measure about 8 to 10 inches tall.
Acrylic yarn is a common choice. It holds its shape, comes in many shades of golden, and costs less than natural fibers. Cotton yarn creates firmer stitches and sharper detail, which helps with small parts like ears and tails.
Look for these yarn colors:
- Golden or light brown for the body
- Cream or light beige for the muzzle and chest
- Black or dark brown for the nose and eyes
Soft, fuzzy yarn can give a fluffy look. However, beginners may find it hard to see stitches. Smooth yarn makes counting stitches easier and reduces mistakes.
Choose yarn that feels soft but not stretchy. Tight, even stitches prevent stuffing from showing through.
Choosing Crochet Hooks
Patterns for golden retriever plush toys often suggest a hook between 3.0 mm and 4.0 mm. The exact size depends on the yarn weight and how tightly the crocheter works.
Amigurumi requires tight stitches. Many crocheters use a hook that is 0.5 mm smaller than the yarn label suggests. This keeps the fabric firm and helps the toy hold its shape.
Use this quick guide:
| Yarn Weight | Common Hook Size for Amigurumi |
|---|---|
| Sport (#2) | 2.5–3.0 mm |
| DK (#3) | 3.0–3.5 mm |
| Worsted (#4) | 3.5–4.0 mm |
Metal hooks glide easily through tight stitches. Ergonomic hooks reduce hand strain during longer projects.
Always test a small swatch. If stuffing shows through, switch to a smaller hook.
Recommended Safety Tools
Safety matters when making toys, especially for children. Many golden retriever crochet patterns include plastic safety eyes. These eyes lock into place and create a secure finish.
Common sizes range from 6 mm to 12 mm, depending on the toy’s size. Larger plush dogs need larger eyes for balanced proportions.
Other useful tools include:
- Tapestry needle for sewing parts together
- Stitch markers to track rounds
- Polyester fiberfill stuffing for shaping
- Sharp scissors for clean cuts
For babies or toddlers, embroidered eyes may be safer than plastic ones. Secure all knots tightly and weave in ends well.
Blocking is optional for amigurumi. Light shaping by hand often works better than wet blocking for stuffed toys.
Tips for Crocheting Realistic Golden Retriever Features
A realistic Golden Retriever depends on texture, facial details, and careful assembly. Small choices in yarn, shaping, and placement make a clear difference in how lifelike the finished dog looks.
Achieving a Lifelike Coat Texture
Golden Retrievers have a soft, slightly wavy coat. The crocheter should choose worsted weight yarn in golden, cream, or light honey shades to match that look.
Acrylic yarn works well for structure, while a soft blend can add a more natural feel. Some free amigurumi patterns suggest smooth yarn for beginners, but a lightly textured yarn can create a fuller coat.
To improve texture:
- Use a loose tension so the fabric does not look stiff.
- Brush the finished piece gently with a pet slicker brush to raise fibers.
- Add subtle color changes around the ears and back for depth.
Short rows can shape the chest to give the dog a fuller front. Light stuffing keeps the body firm but soft, which helps the coat look natural instead of stretched.
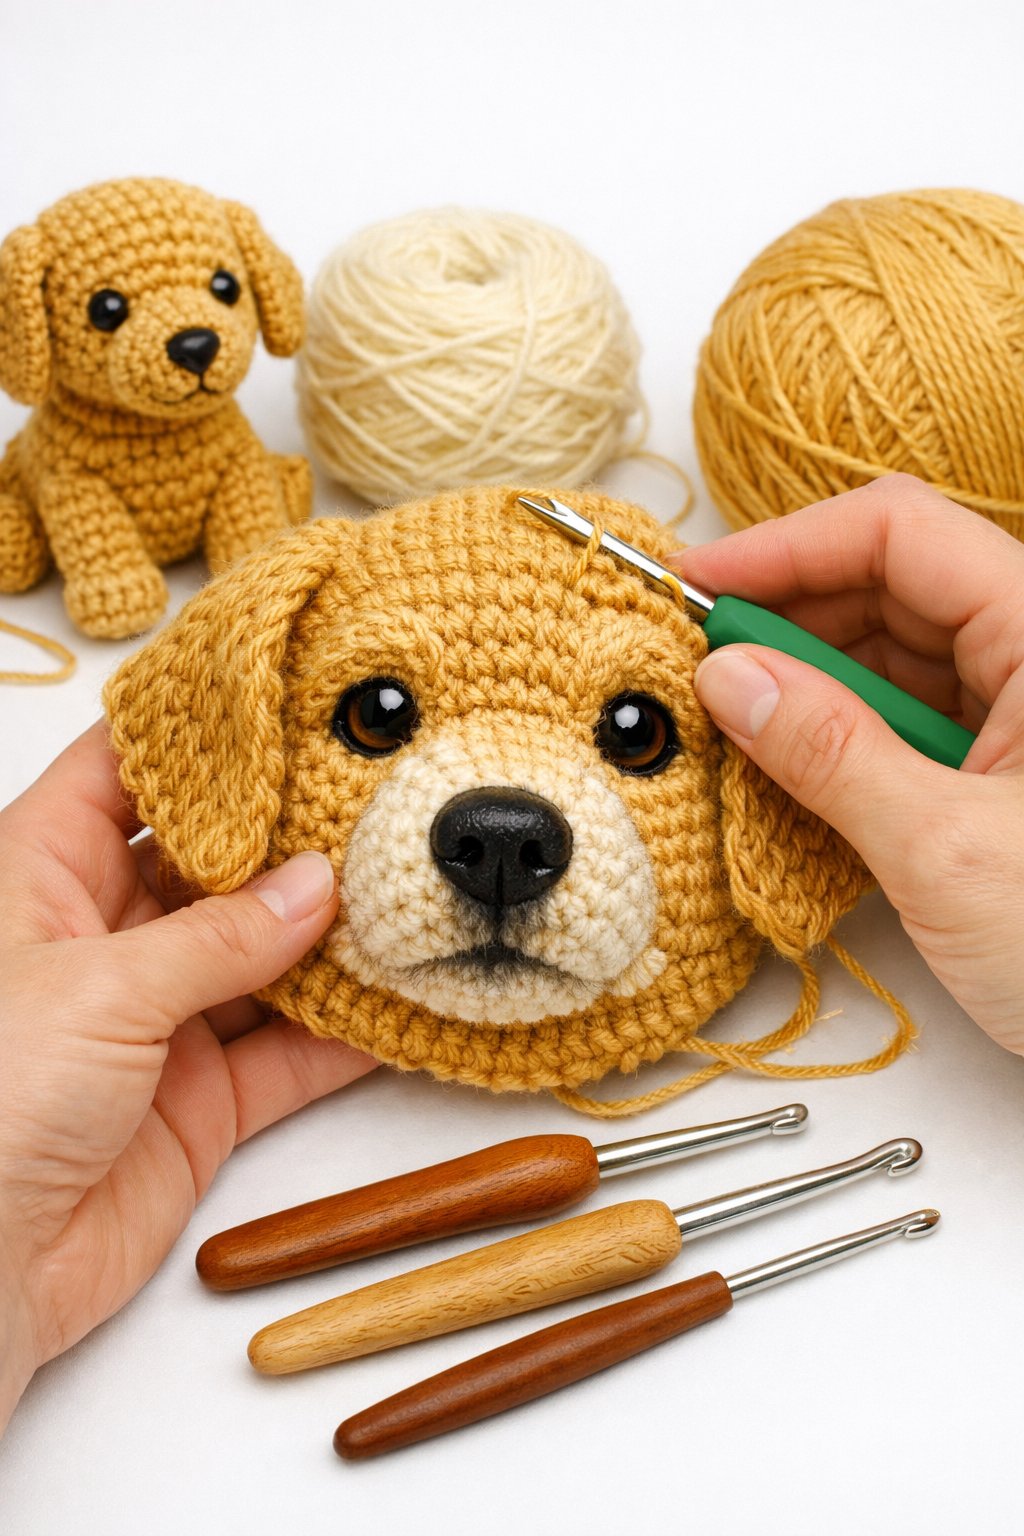
Detailing the Eyes and Nose
The eyes and nose give the dog its expression. Careful placement matters more than complex stitching.
Most patterns use 8–12 mm safety eyes, depending on the size of the plush. The crocheter should place them slightly wider apart to match the breed’s friendly face.
To improve realism:
- Insert the eyes before closing the head.
- Add a small stitch of white yarn in one corner for a natural shine.
- Use light brown thread to shape gentle eye contours.
For the nose, black embroidery floss or a safety nose works well. A triangular shape with soft edges looks accurate.
They should stitch a short line straight down from the nose to form the mouth. Keep the mouth simple. Too much detail can make the face look stiff.
Assembly and Finishing Touches
Neat assembly shapes the final look. The crocheter should pin all parts in place before sewing.
Attach the ears slightly below the top of the head. Golden Retrievers have medium-length ears that hang close to the cheeks.
For clean results:
- Use the same yarn for sewing seams.
- Stitch through both loops for strong joins.
- Check symmetry from the front and side.
Shape the tail with light stuffing so it curves gently. After assembly, adjust stuffing through small gaps if needed.
A final light brushing on the body and ears softens the stitches. Trim loose fibers and secure all ends tightly so the toy stays durable during handling.