If you share your life with a Labrador, you already know they’re equal parts lovable goofball and loyal best friend. But let’s be real for a second—those floppy ears can turn into a sneaky problem if you don’t stay on top of them. Ever noticed your Lab shaking their head nonstop or giving you that “something feels off” look? Yeah, that’s usually your cue.
I’ve been there myself. My own Labrador once went from perfectly happy to constantly scratching his ears, and that’s when I realized I needed to step up my ear-care game. So today, I’m breaking it all down in plain English, friend-to-friend, so you know exactly how to clean Labrador ears safely, easily, and without stressing either of you out.
Why Labrador Ears Need Extra Care
Labradors have those adorable floppy ears that trap warmth and moisture. While they’re cute, they’re also the perfect environment for bacteria and yeast to thrive. That’s why Labs are more prone to ear issues than some other breeds.
Think about it—your Lab loves swimming, rolling in grass, and sticking their nose (and ears) everywhere. All that fun brings in dirt, pollen, and moisture. If you don’t clean their ears regularly, problems can build up fast, IMO.
Key reasons Labs need ear cleaning:
- Floppy ears reduce airflow
- Frequent swimming increases moisture
- Active outdoor lifestyle brings debris inside
- Wax buildup happens quicker than you think
How Often Should You Clean Labrador Ears?
This is one of the most common questions, and the answer isn’t one-size-fits-all. Most Labradors do well with ear cleaning once every 1–2 weeks. But if your Lab swims a lot or has sensitive ears, you may need to clean them more often.
On the flip side, cleaning too frequently can irritate the ear canal. So balance is key. Pay attention to your dog’s habits and ear condition rather than sticking to a rigid schedule.
General guidelines:
- Active swimmers: once a week
- Average indoor/outdoor Labs: every 10–14 days
- Sensitive ears: only when dirty or advised by a vet
Signs Your Labrador’s Ears Need Cleaning
Not sure if it’s time? Your Lab will usually tell you—just not with words. You just have to notice the clues. Ignoring these signs can turn a simple cleaning into a vet visit, and nobody wants that.
Watch out for these red flags:
- Frequent head shaking
- Scratching at ears
- Redness or swelling inside the ear
- Bad or yeasty smell
- Brown or yellow discharge
If you spot severe pain, bleeding, or thick pus, stop right there and call your vet. Ear cleaning is helpful, but it’s not a cure-all.
What You’ll Need Before You Start
Before you even touch your dog’s ears, get everything ready. Trust me, scrambling for supplies mid-clean is how messes happen. A calm setup makes the process smoother for both of you.
Here’s your simple ear-cleaning kit:
- Vet-approved dog ear cleaner
- Cotton balls or gauze pads
- A towel (non-negotiable, FYI)
- Treats for positive reinforcement
Avoid cotton swabs. They can push debris deeper into the ear and cause damage. That’s a hard no.
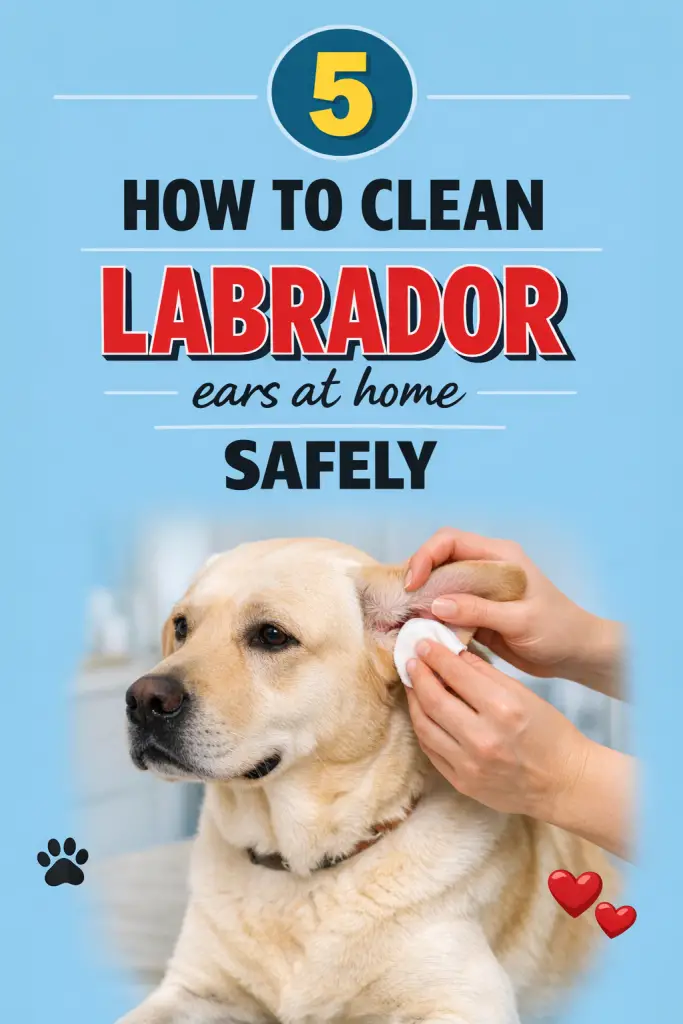
Step-by-Step Guide to Cleaning Labrador Ears
Get Your Dog Comfortable
Start by choosing a calm time when your Lab is relaxed. After a walk or play session works great. Sit somewhere easy to clean, like the bathroom or backyard.
Talk to your dog in a calm voice and let them sniff the ear cleaner bottle. This helps reduce anxiety. A few treats here go a long way 🙂
Apply the Ear Cleaner
Gently lift your Lab’s ear flap and squeeze the cleaner into the ear canal. Don’t jam the nozzle inside—just enough to fill the canal slightly. Your dog may look confused, but that’s normal.
Once the cleaner is in, gently massage the base of the ear for about 20–30 seconds. You should hear a squishy sound, which means it’s working.
Let the Head Shake Happen
Now comes the fun part. Step back and let your Lab shake their head like they mean it. This helps loosen debris and bring it up toward the outer ear.
Yes, it can get messy. That towel you grabbed earlier? This is why.
Wipe Away the Debris
Use a cotton ball or gauze pad to gently wipe the inside of the ear flap and visible canal area. Don’t dig deep—only clean what you can see. Repeat until the cotton comes away mostly clean.
Finish with praise and a treat. Cleaning ears shouldn’t feel like punishment.
Common Mistakes to Avoid
Even with good intentions, mistakes happen. Knowing what not to do is just as important as knowing what to do.
Avoid these common errors:
- Cleaning too often
- Using human ear products
- Pushing cotton swabs into the ear canal
- Ignoring signs of infection
- Forcing a scared or struggling dog
If your Lab consistently resists ear cleaning, slow down and rebuild trust. Rushing only makes things worse.
Best Ear Cleaners for Labradors
Not all ear cleaners are created equal. You want something gentle but effective. Always choose a dog-specific ear cleaner approved by vets.
Look for products that:
- Are alcohol-free
- Help dry moisture
- Balance ear pH
- Target yeast and bacteria
If your Lab has recurring ear problems, ask your vet for a recommendation. Sometimes prescription cleaners are the best option.
Natural vs Commercial Ear Cleaning Solutions
You might see DIY recipes online using vinegar or hydrogen peroxide. While these can work in limited cases, they’re not always safe. Labradors can have sensitive ears, and harsh solutions may irritate them.
Commercial cleaners are designed with canine ears in mind. They’re safer and more consistent. IMO, it’s worth spending a few extra dollars for peace of mind.
If you’re curious about natural options, always check with your vet first. Better safe than sorry.
What to Do If Your Labrador Has an Ear Infection
Ear infections are more common in Labs than many owners realize. If cleaning doesn’t improve symptoms within a day or two, it’s time to see the vet.
Common signs of infection include:
- Strong foul odor
- Thick discharge
- Pain when touched
- Constant whining or head tilting
Never try to treat an infection with home remedies alone. Infections often need medicated drops or oral treatment to fully clear.
How Swimming Affects Labrador Ear Health
Labradors love water—it’s basically written into their DNA. But frequent swimming means water trapped in the ears, which increases infection risk.
After every swim:
- Dry ears gently with a towel
- Use a drying ear cleaner if recommended
- Check for redness or odor later that day
Regular swimmers benefit from more frequent ear checks. It’s a small habit that prevents big problems.
Training Your Labrador to Tolerate Ear Cleaning
If your Lab hates ear cleaning, don’t panic. This is super common. The key is positive association and patience.
Start slow:
- Touch ears briefly and reward
- Introduce the cleaner bottle without using it
- Gradually build up to full cleaning sessions
Consistency matters more than speed. Over time, your Lab will realize ear cleaning isn’t the enemy.
When to Call the Vet Instead
Sometimes, ear cleaning just isn’t enough. Knowing when to step back is part of being a responsible dog parent.
Call your vet if:
- Symptoms worsen after cleaning
- Your dog cries in pain
- There’s swelling or bleeding
- Infections keep returning
Chronic ear issues may point to allergies or underlying conditions. A vet can help you get to the root cause.
Conclusion
Keeping your Lab’s ears clean isn’t complicated, but it is important. Regular checks, gentle cleaning, and knowing the warning signs can save your dog from discomfort and you from costly vet bills. Once you build it into your routine, it becomes second nature.
So grab that ear cleaner, stock up on treats, and make ear care just another part of loving your Labrador. Your dog will be happier, healthier, and way more comfortable—and honestly, that’s a win for both of you.